Extension Services to Help You Make the Most of Your Home
London and Kent Construction Limited provide a total service for all types of house extensions including ground floor flats and apartments, bungalows, chalets and period properties. From detailed planning and obtaining the planning permission through to completion, landscaping and interior design, we are the best people for the job.
Our team consists of skilled professionals from across a range of trades. This means that we are able to offer advice and guidance on the best extension for you, and that we can undertake the entire project from beginning to end: no waiting around for other contractors, no wasted time or unexpected call out fees.
House extensions usually require planning permission. If you already have planning permission, you can send us your plans for a free quote. If you don’t have planning permission already, one of our architects can help you to create and submit plans for approval.
How much will a house extension cost?
No extension is the same, they all vary from property to property. In order for us to give you the best possible quote for your extension, we would have to visit the property to assess the proposed works. We will do our best to create a plan that meets (or exceeds) your needs, and that falls within budget, although in some case we may recommend increasing your budget to accommodate your requirements.
House extensions are an investment: they will save you the costs associated with moving to a new home, and will help your property to better suit your needs. What’s more, house extensions can add significant value to your property; in some cases, up to 25 per cent of the current value.
Case Studies
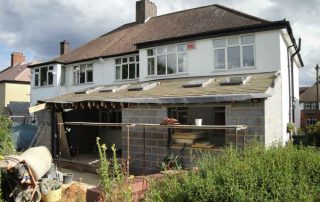
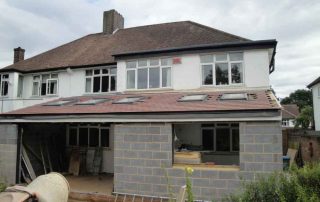
Kitchen extension carried out in Colepits Wood Road, London, SE9. Eltham Heights.
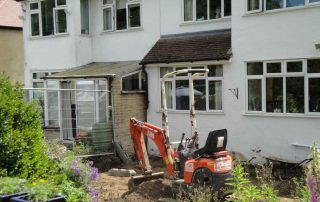
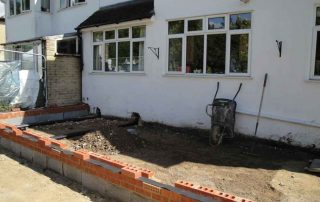
Stage 1: House extension foundations and concrete floor over site
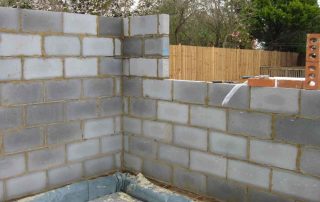
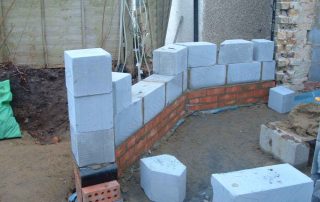
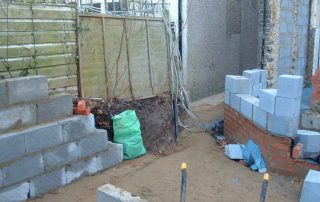
The pictures above show the demolition stages through to the preparation of the over site/ concrete floor slab. First of all we cleared the area and excavated to a depth of 1.2 meters for the foundations. Once the foundations were poured, we built up to damp proof course (DPC) level. We then laid hard core to the area and compact it with heavy machinery. This was then blinded with 50mm of sand.
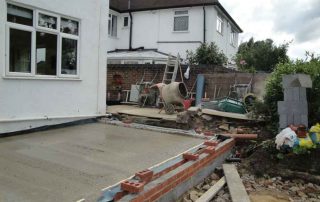
Stage 2: House extension floor construction and brick work to DPC.
We laid a Damp Proof Membrane (DPM) down and lapped this onto the DPC course. We then laid 85mm of Celotec insulation over the floor and 35mm up the walls. The floor was then ready for concreting.
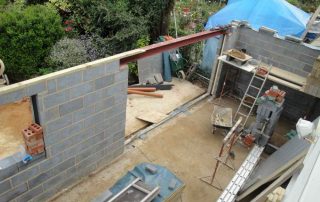
Stage 3: House extension cavity walls and pitching the roof
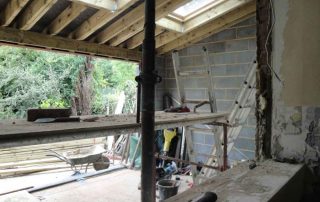
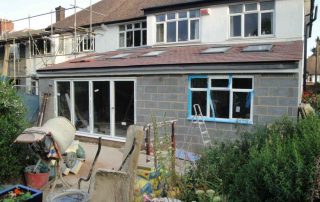
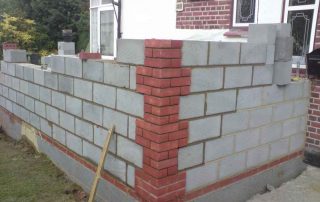
We built 2 skins of 100mm Thermalite blockwork/block walls up off the DPC with 70mm of insulation clipped in between. All lintels and cavity closers were installed. We pitched the roof and installed Velux windows.
Stage 4: House extension roof tiling, facias and soffits and making good to the disturbed areas of the patio.
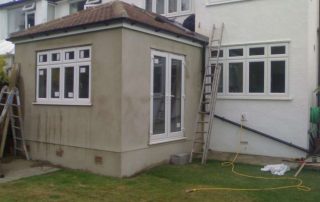
The roof was felt and battened ready for tiling. All ventilation UPVC sofits and facias were installed, along with the guttering. The roof was then ready for tiling and installing the lead flashings.
Stage 5: Insulation, structural openings and stud walls to the house extension.
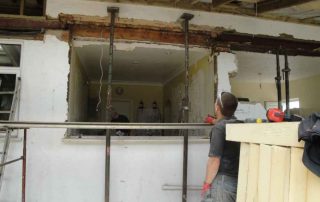
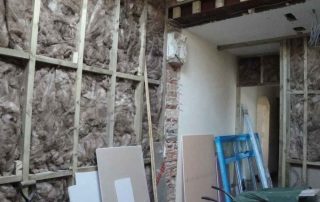
Once the new extension was watertight, we were able to carry out all structural openings from the extension to the main house. We carefully shored up the walls ready for the removal of the brickwork. The new concrete padstones were installed and the steels were put in place. The timber stud frames were then installed ready for insulation.
Stage 6: Insulation and scratch coat rendering
The stud walls were insulated with a Rockwall acoustic insulation. The ceiling to the extension was insulated with 100mm of Celotec in between the joists and 50mm of insulation across the ceiling joist left ready for first fix electrics and plumbing.
Stage 7: Plasterboarding and plastering.
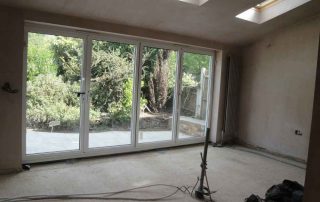
Once the extension has had all of its electrics and plumbing installed it was ready to be plasterboarded. We always use the thicker board of 12.5mm. These boards were screwed and not nailed to provide a stronger fixing and present the plaster from popping. Once the walls and ceilings were boarded, we drilled holes in the ceilings and walls to bring the lighting cables through. The same goes with the stud walls for the plug sockets. The walls and ceilings were then ready for plastering.
Stage 8: Decoration and the fitting of a Kitchen.
The walls were lightly sanded to take off any shiny patches, as paint won’t adhere properly to shiny areas. The walls and ceilings had 3 coats of emulsion paint and we applied a primer, 2 layers of undercoat and a finish coat to the timber.
Stage 9: Snagging
Once the kitchen was installed, everything was checked to make sure it was working properly. We then carried out any final snagging with the client before handing the works over as completed.
Stage 10: Completed
A completion certificate, NIC EIC And a the GAS SAFE Certificates were issued to the client. Another superb job competed on time and on budget by London and Kent Construction Ltd!
Rear extension in Crown Woods Road, Eltham Heights SE9
A house extension on a detached property in North Park Eltham SE9 london
This is a nice detached property in Eltham South East London SE9 on a good-sized plot, but with small rooms.
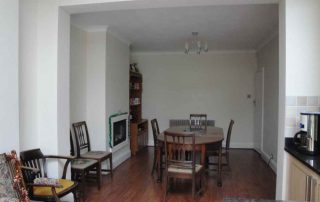
We extended the living room and dining room into the garden to double their size, extending them from 4 meters x 5 meters to 8 meters by 5 meters.
We also added a conservatory to the back of the living room. This house extension was carried out under full planning permission. There were also some major structural alterations carried out to the rear bay; bays on houses are normally the weak point for moving or subsiding and can sometimes need underpinning.
Finished House Extension
Extension to a 1930s semi-detached built house in Eltham Heights SE9 with an attached garage.
This house extension gained our customers a bedroom with an en suite bathroom above the garage.
We demolished the garage and erected a garage with the correct size footings to take a second/double storey extension.
Part way through build
We fitted all structural steel work ready for the new concrete block extension to be built on top.
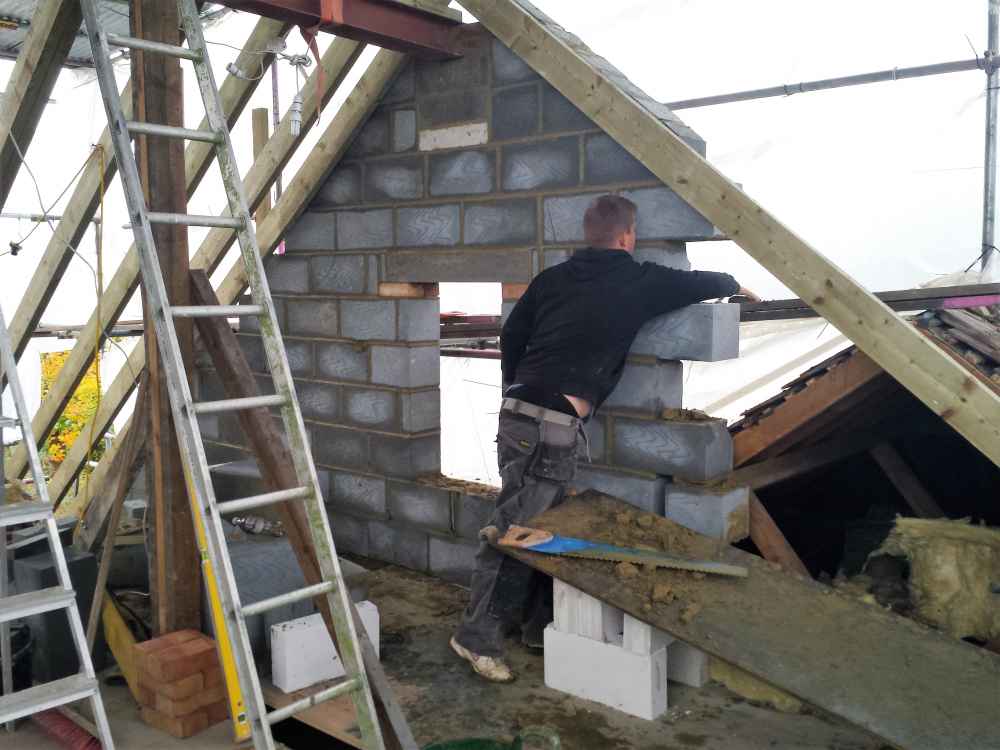
After building the second story to the extension, it was time to pitch the roof so that all internal knock-through and structural alterations to the main house could be completed.
The roof was tiled with Redland concrete plain tiles.
All works conducted were sympathetic with the property’s original Tudor style. Once these works were completed, you could not tell it was a house extension as all of the finishes blended in beautifully.
Extension of a 1930s built house with a detached garage in Riefield Road, Eltham SE9.
We demolished the conservatory and erected a double story side extension
The customers gained a bedroom with an en suite bathroom and a large living room of 10 meters by 4.5 meters.
Just like the project above, once these works were completed you, could not tell it was a house extension as all of the finishes blended in beautifully.
Wrap around house extension to the side and rear of a semi-detached house in Chislehurst / Petts Wood.
These images show you the semi-detached house with 2 bays before the extension; digging out of the foundations; and the extension going up
We used a mixture of thurmulite blocks and squint bricks to give a different effect on the corners.

The customer budgeted under-floor heating into the project; we also installed a megaflow system before screeding and tiling.
Both the team and the customer were delighted with the results; the builder said:
I love the small details like the creasing tiles used for the window sills and the corner squint brickwork mixed with the flat render. The double glazed UPVC windows are set in hardwood frames and although this is a little more expensive, it adds character and finishes the extension off beautifully.
Extension to a 1930’s house in Colepits Wood Road, Eltham Heights SE9
We were asked to provide a complete building package for the property, that included planning /building regulations and structural calculations through to completion.
Once this house extension was finished, it blended in with the original property seamlessly. We used second hand tiles on the roof and you couldn’t even tell it was an extended addition.
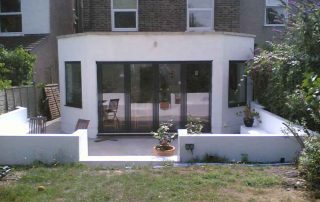
Contemporary rear addition extension on a Victorian house in Beckenham, Kent
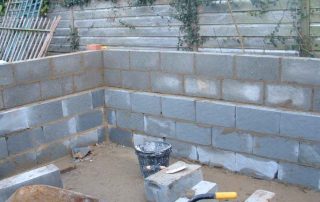
We removed a lot of the soil as the garden was a lot higher than the original patio area. Once we had removed the soil, we had to put retaining walls in. These were rendered and turned into seating areas with hidden storage, as per the client’s specifications. We then set out the footprint of the extension and started to carry out the build.
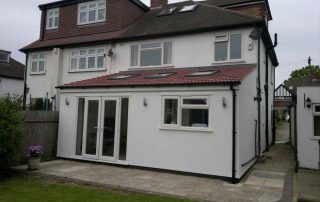
These show the house extension finished.
You can see the back of the retaining concrete walls and benches
This extension is a good example of how it is possible to get a contemporary feel with a period property. On occasions, it was hard to match the crisp lines of the extension with the more organic structure of the original property, but we persevered and the client was delighted with the results.
If you live in SE2 – SE28, DA1 – DA18, BR1 – BR8 and TN1 – TN40, and you would like to know if London and Kent Construction Ltd can help to transform your home,


