Project Description
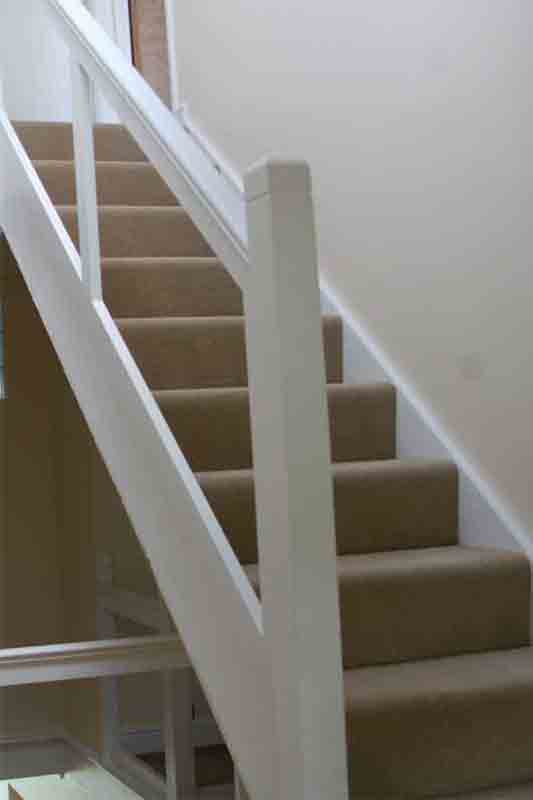
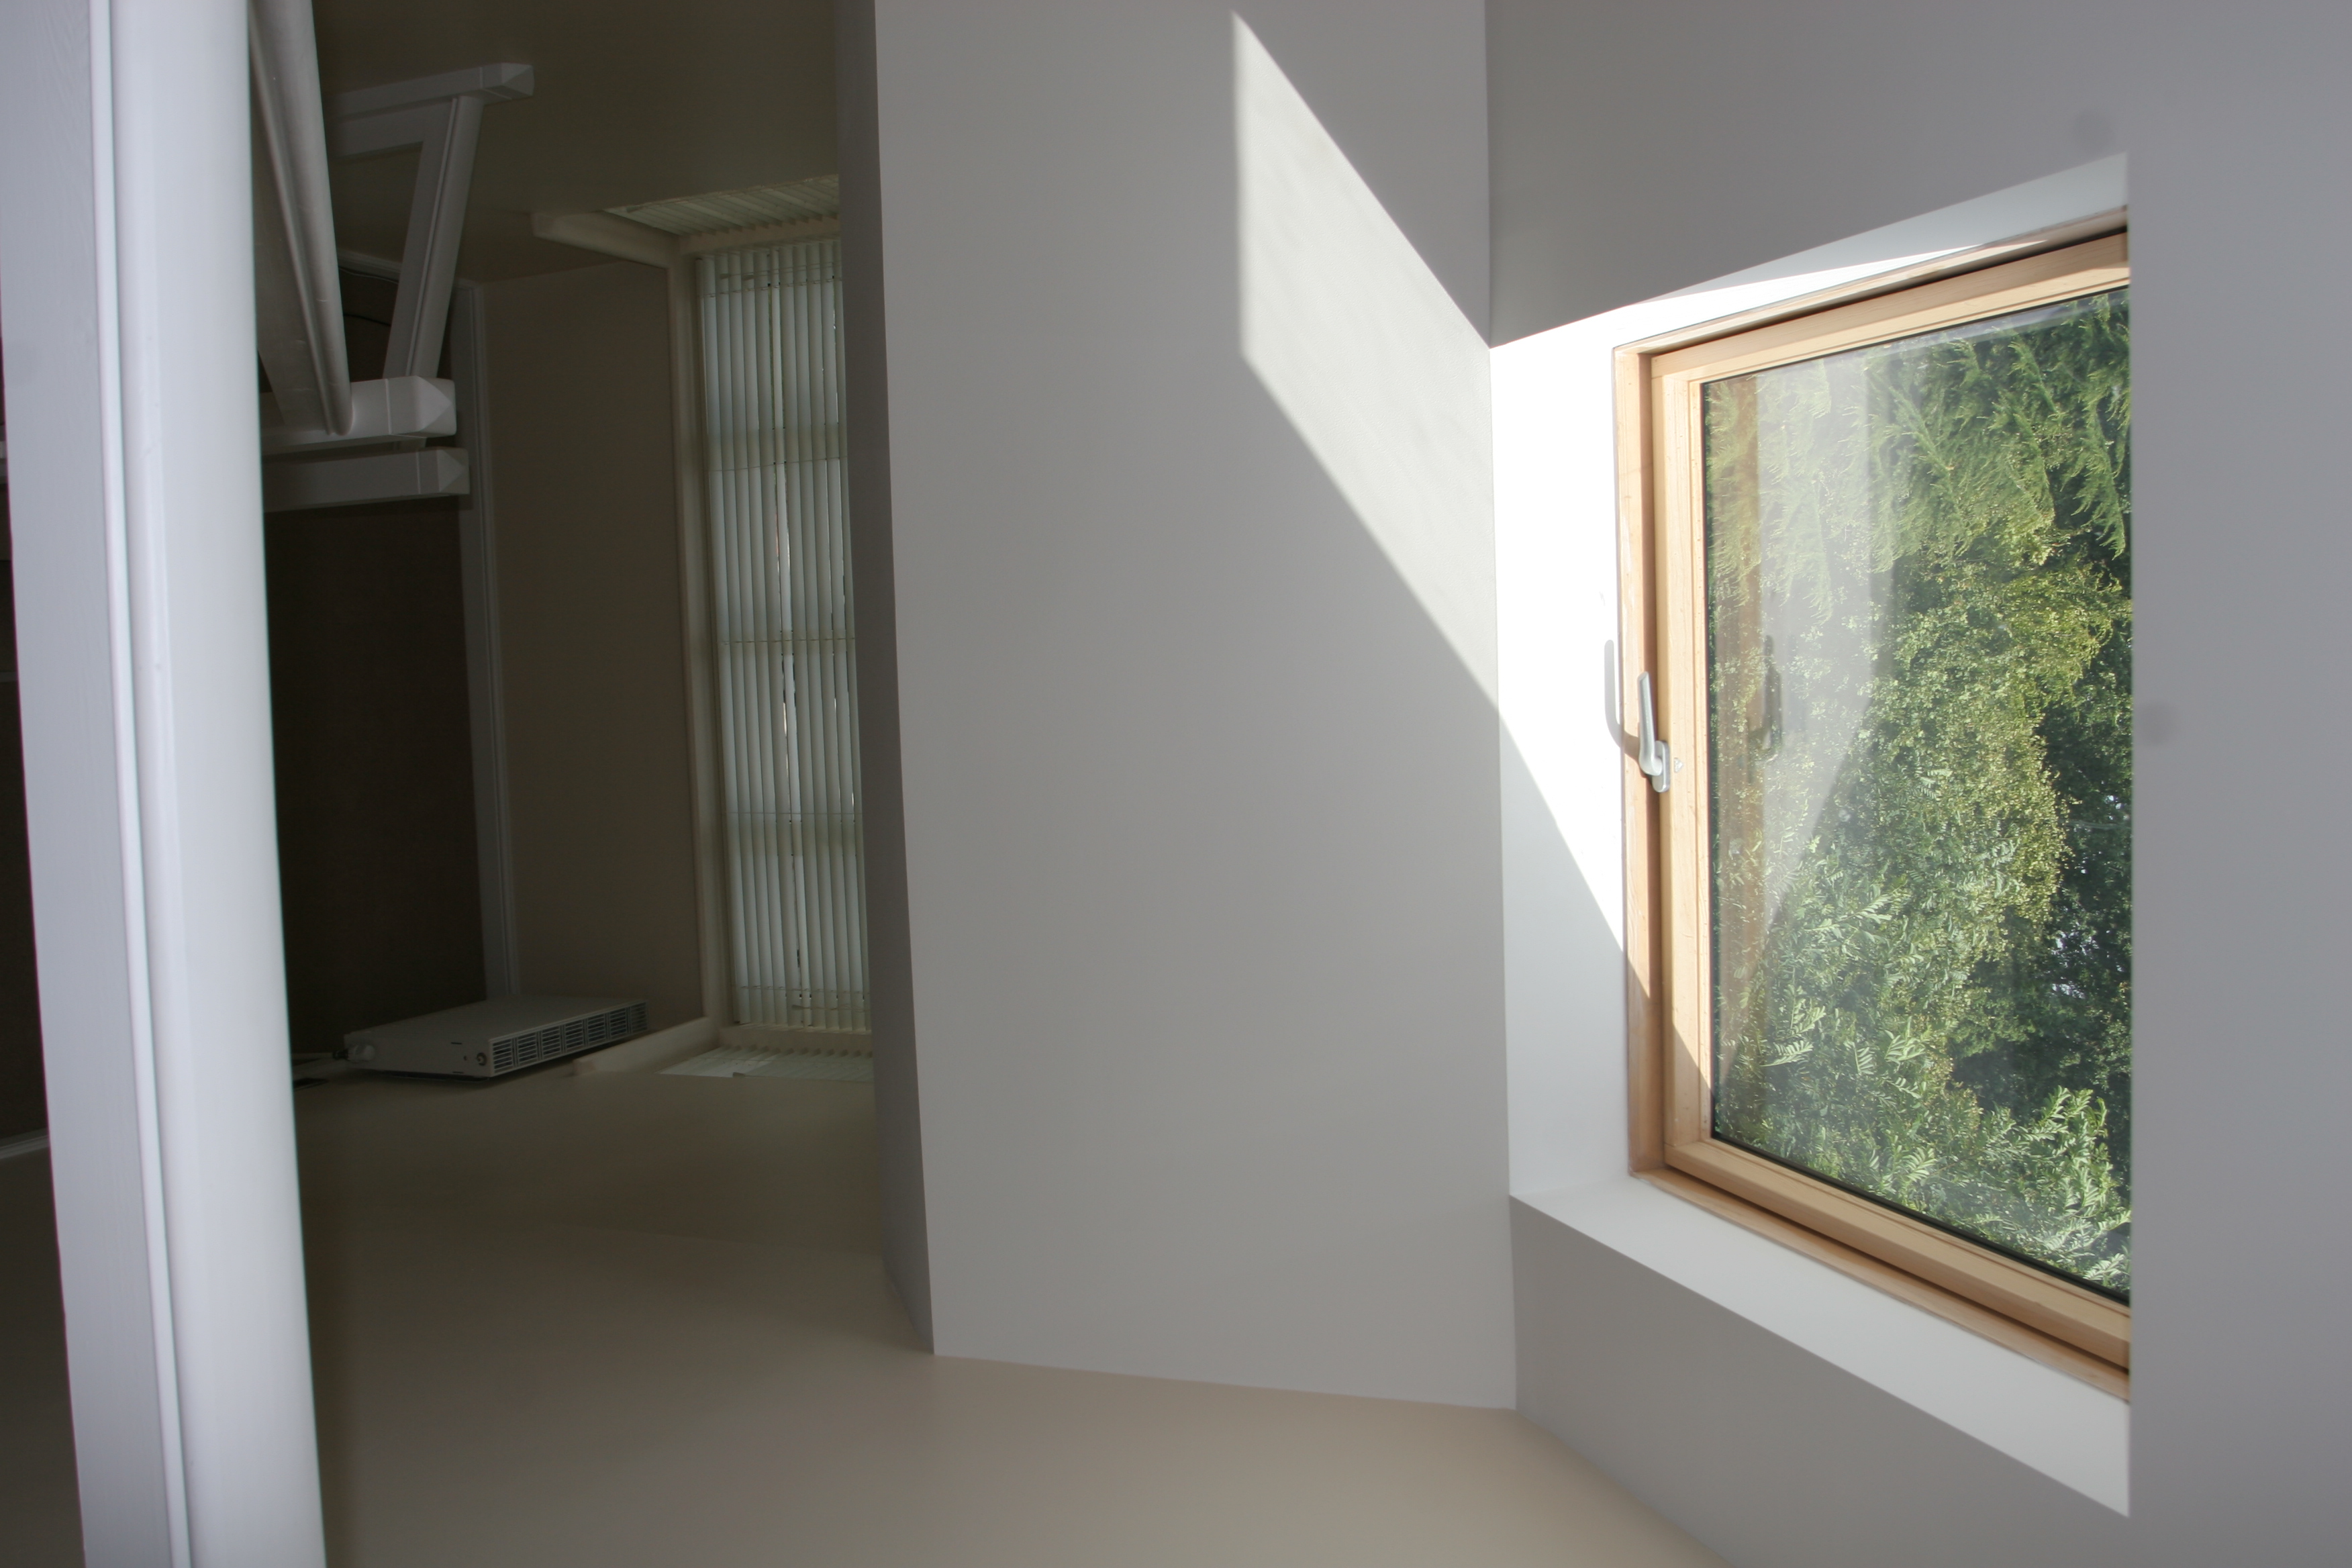
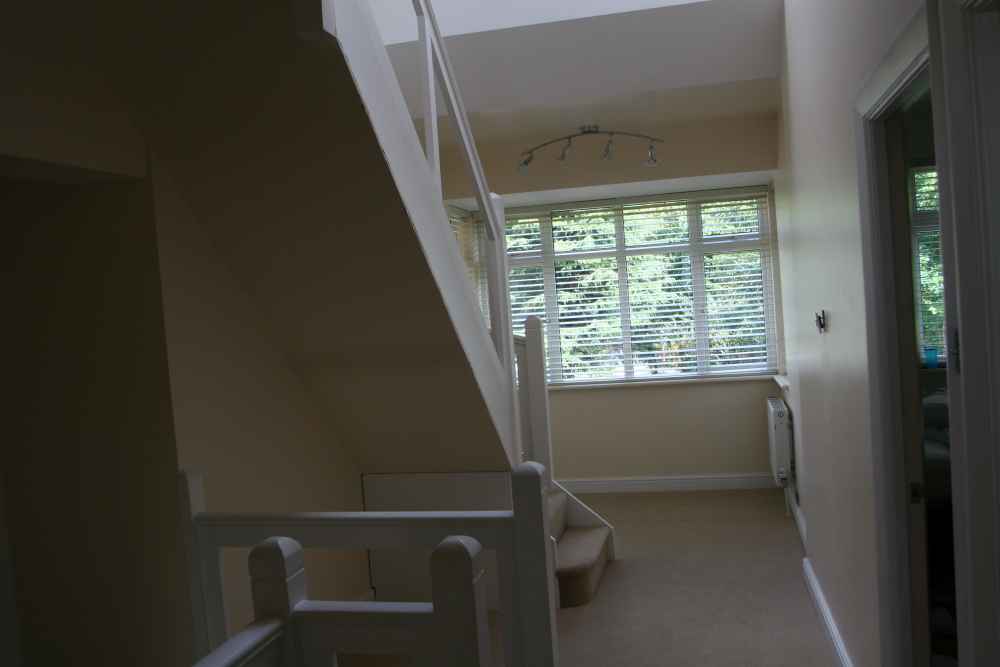
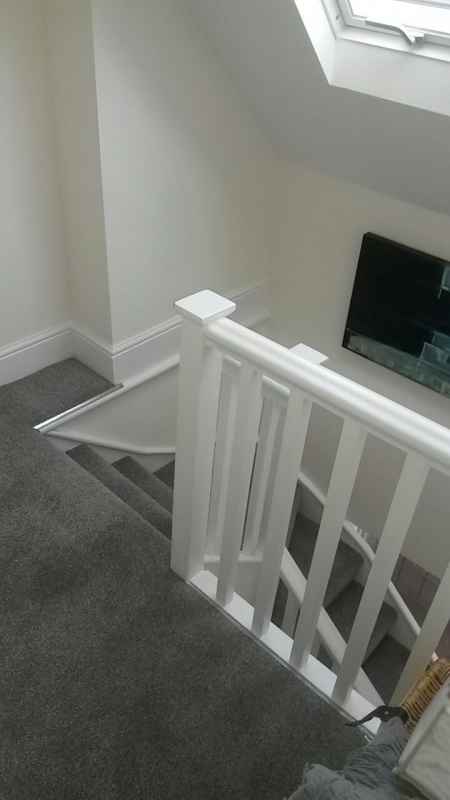
Stage one consisted of preparing the area ready for works and putting the staircase in to gain easier access to the loft space.

Stage one consisted of preparing the area ready for works and putting the staircase in to gain easier access to the loft space.


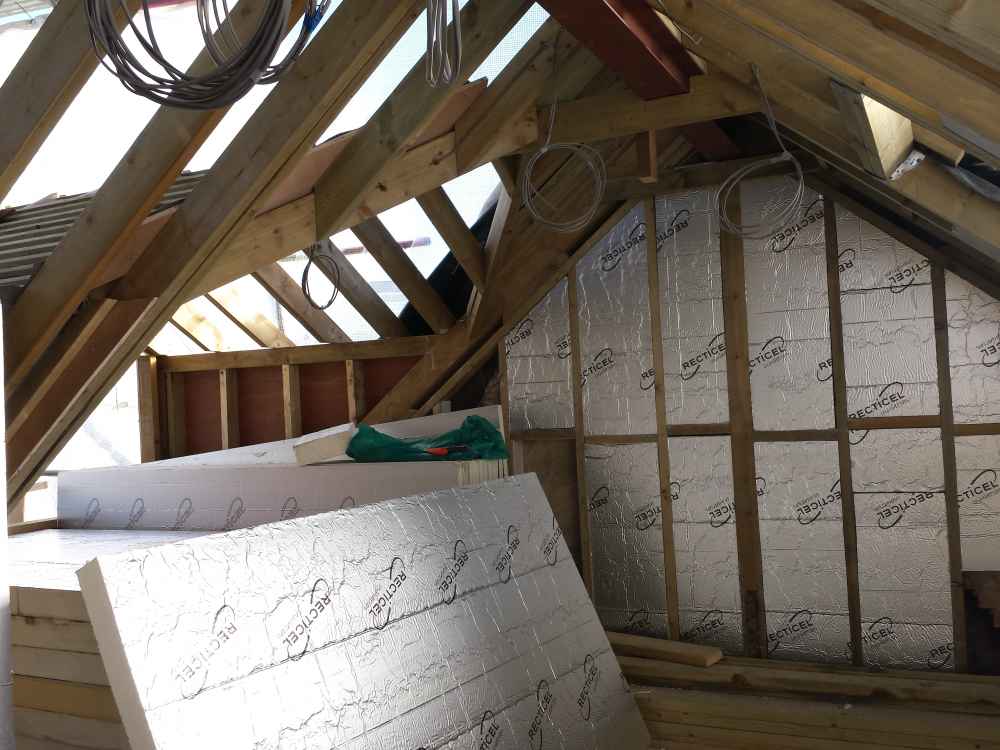
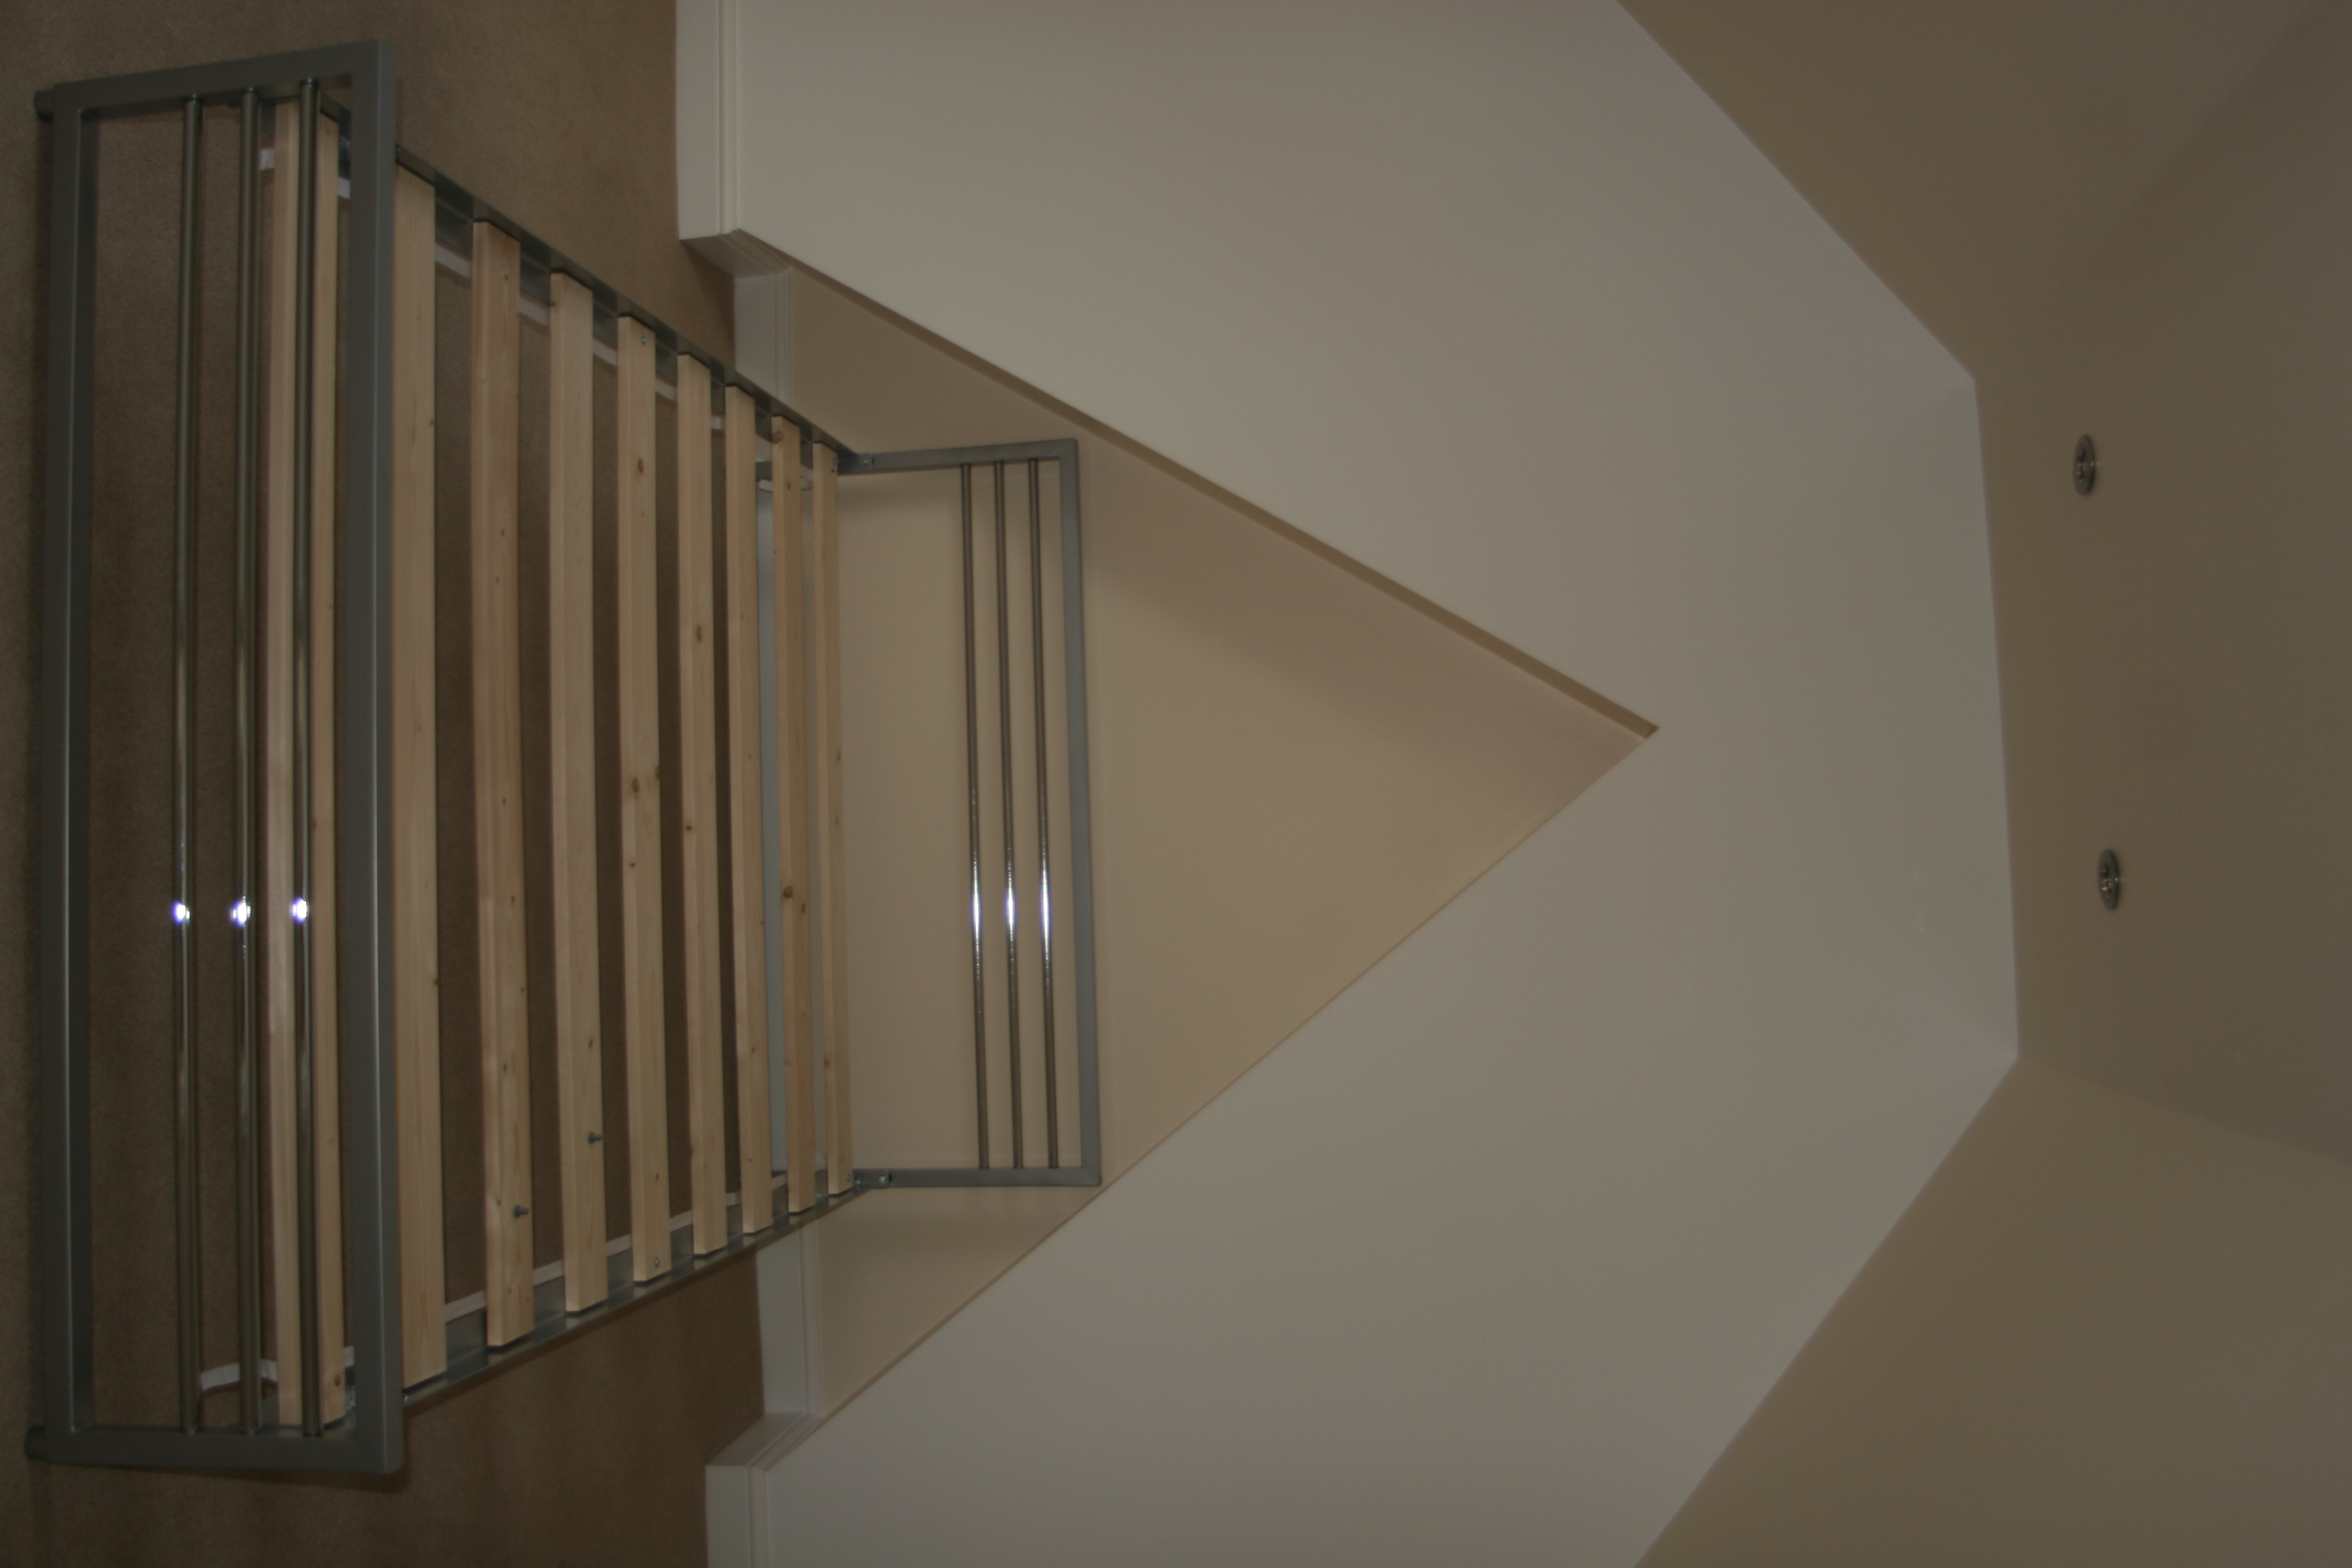
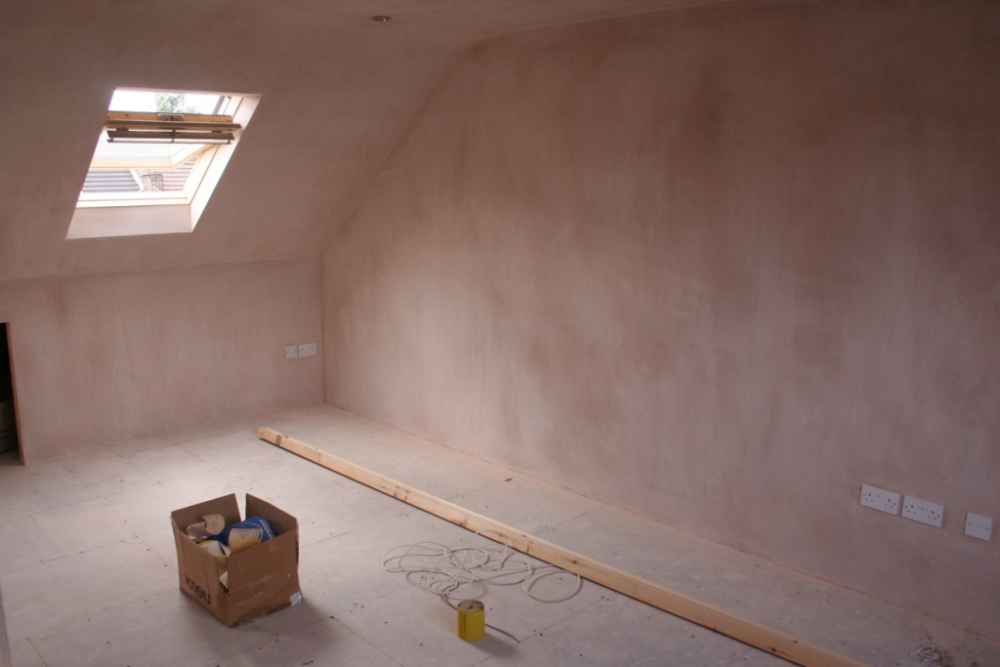
Stage 2 involved erecting a stud wall which consisted of a timber frame. Insulation was then put in place with a plasterboard and skim finish.

Increase the price of your house!
Just by adding a loft conversion you can easily increase the price of your house by a quarter! Also giving you room to store more or expand your living space for more family or renting it out to earn a little more cash. For a small price you can get a lot more out of your home. As I’m sure you know extra space in a property is always welcome and always comes in handy.
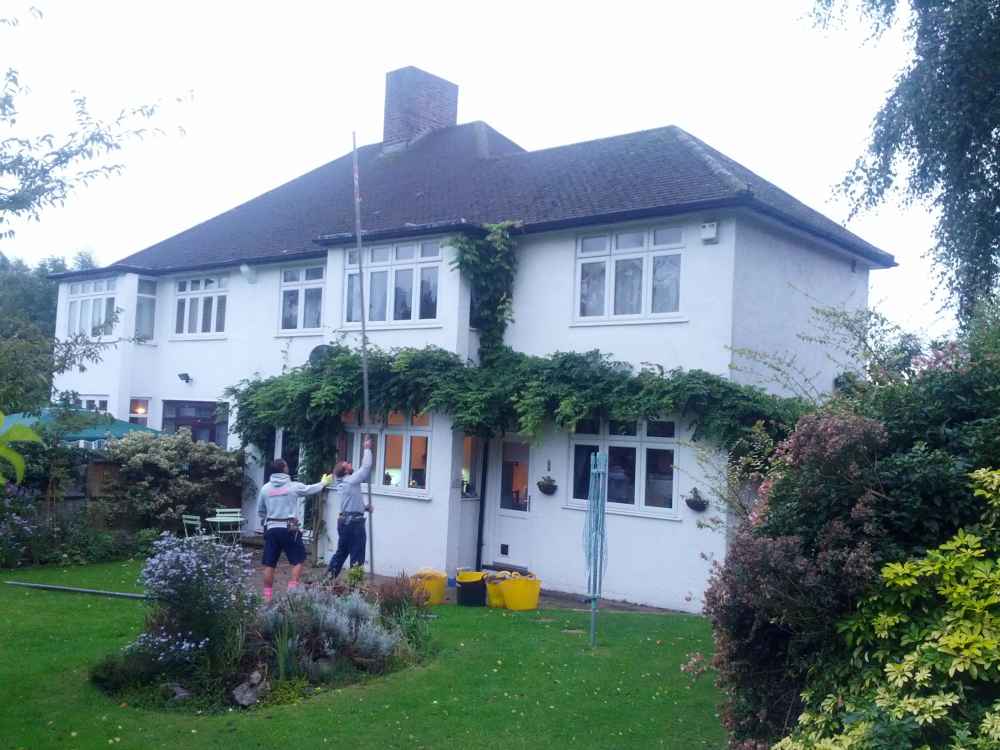
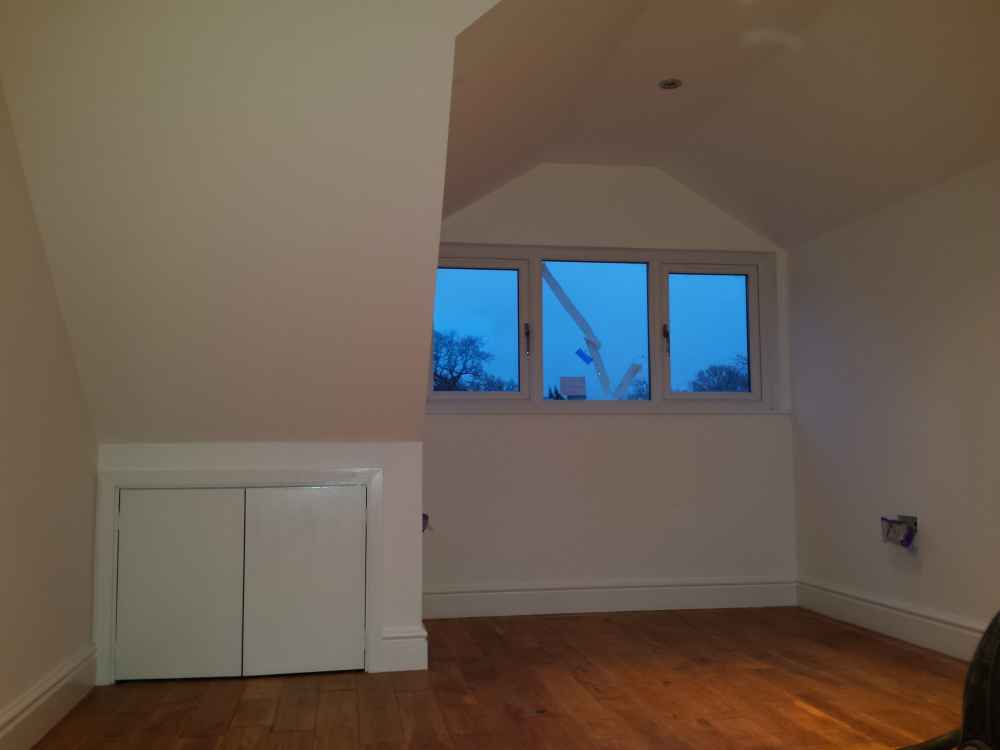
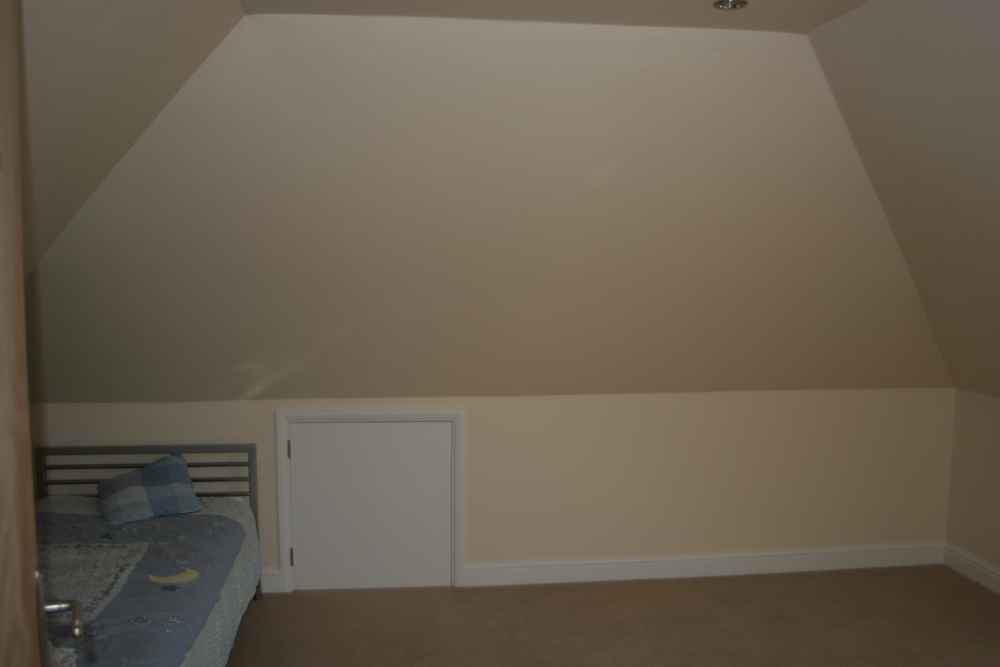
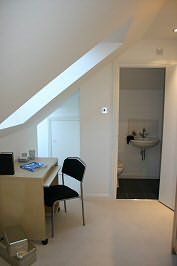
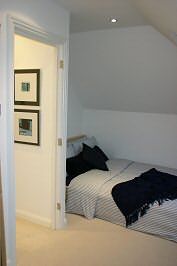
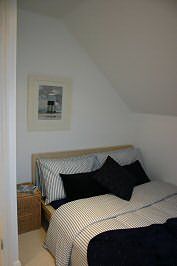
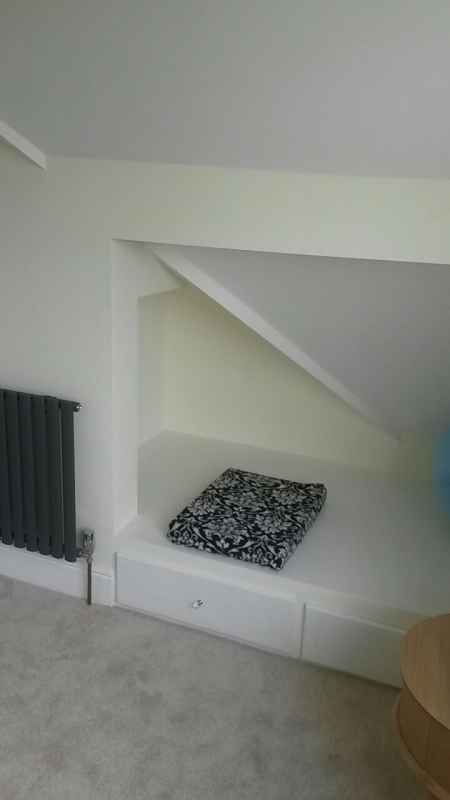
In the final stages of the loft conversion all that was left to do was to make sure all the fixtures and fittings were installed correctly and in perfect working order. We then decorated the space to the client’s requirements and ensured that it had a professional finish.
Mid Terrace Loft Conversion

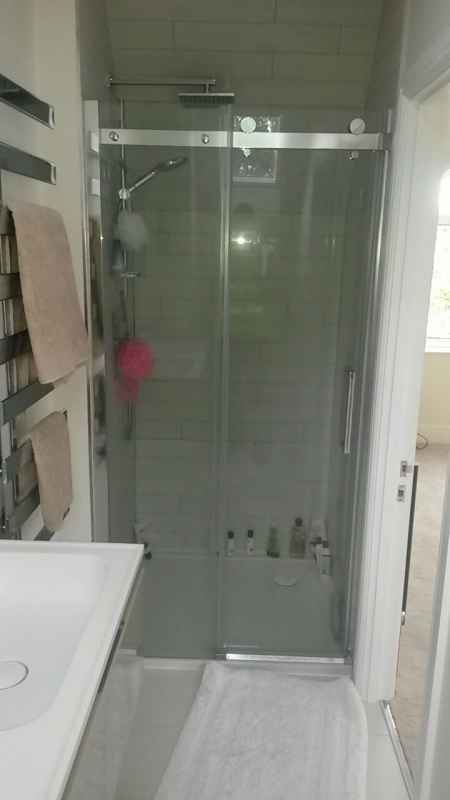
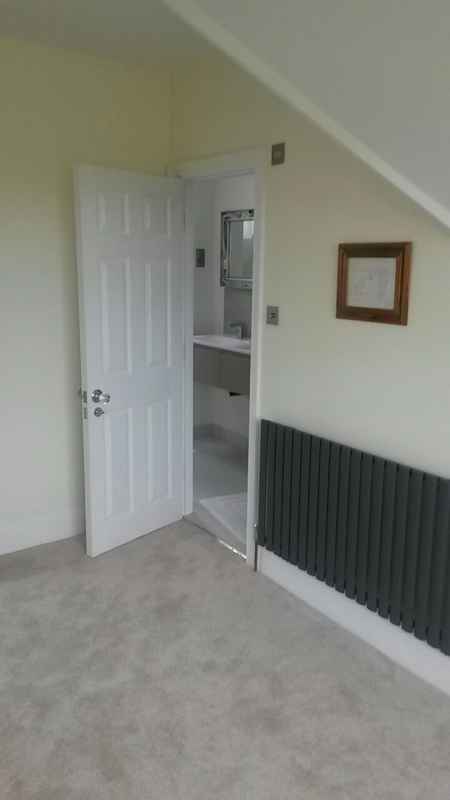
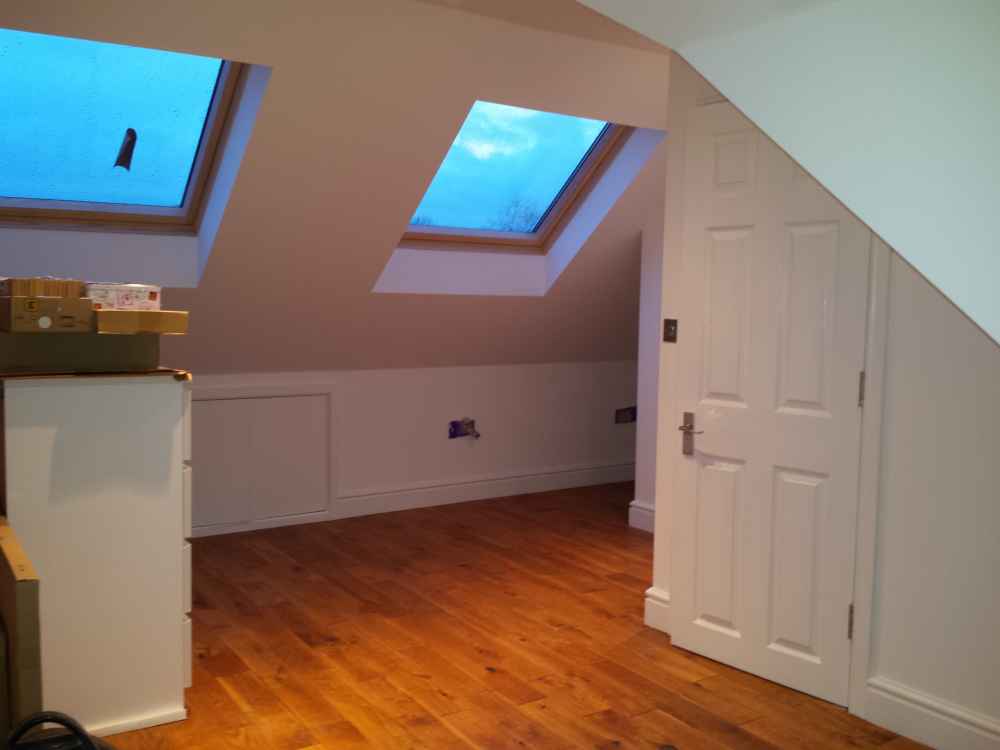
We built wardrobes across the middle and put an ensuite behind them so when the centre doors were shut you would never have known there was a bathroom up there.
A great builder’s idea!
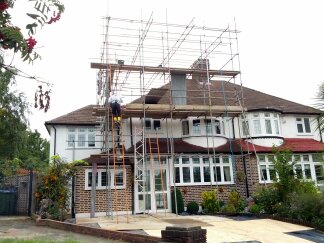
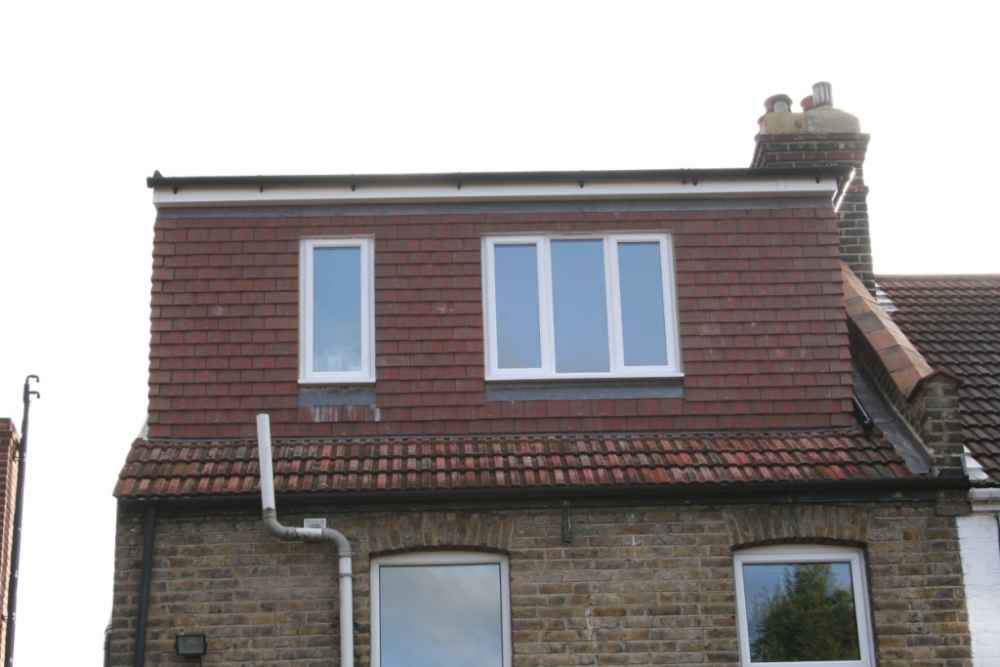
Semi-Detached house with a gable end and rear dormer.
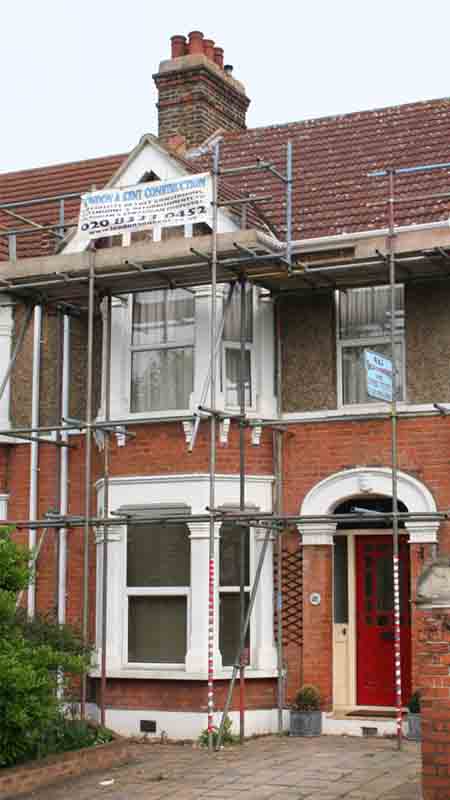
We first erected the scaffolding and sheeted up all working areas. We then gained access through the roof so that 85 per cent of the works could be done without entering the main part of the house to keep the dust to a minimum. We remove any insulation between the roof joists and then hover between the ceiling joists of the first floor. We are now ready to insert steels for the loft floor and ceiling. Once the steels are installed the floor timbers are fitted and a fire barrier and floor insulation is installed. The electrics and plumbing can now be first fixed ready for the loft floor to be boarded.
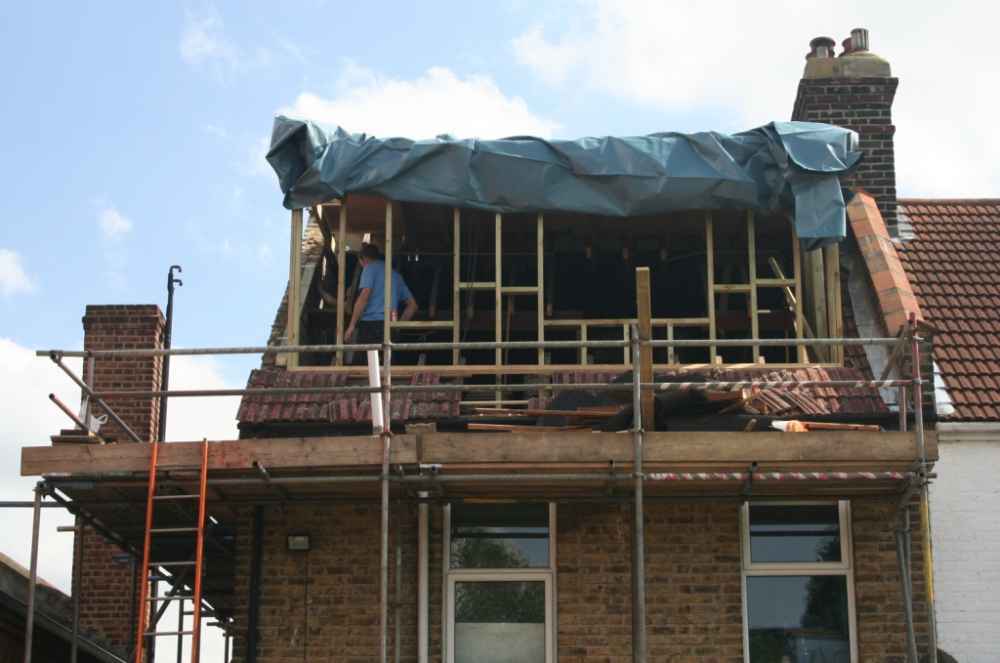

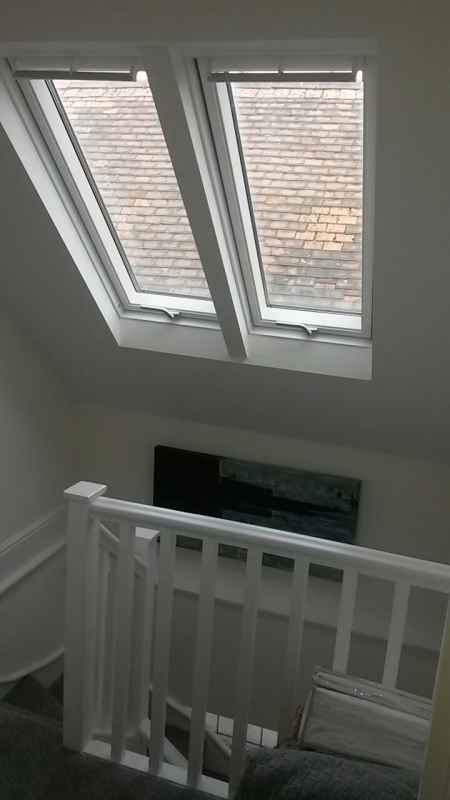
The next step is for the rear of the roof to be dismantled and a new dormer to be erected out of timber. This dormer and front roof slope is fully insulated and then plaster boarded.
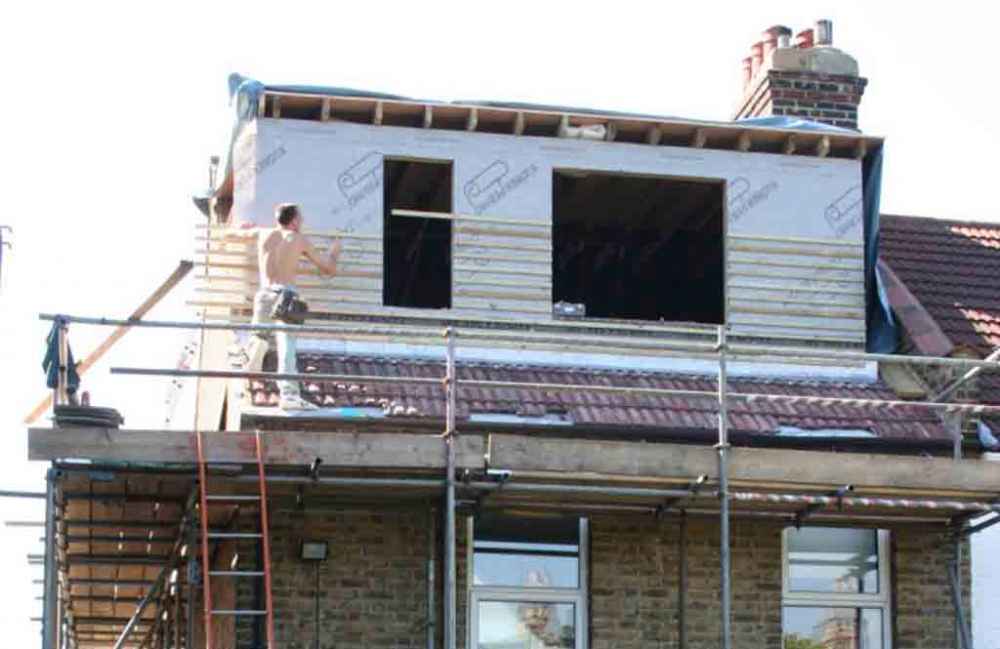

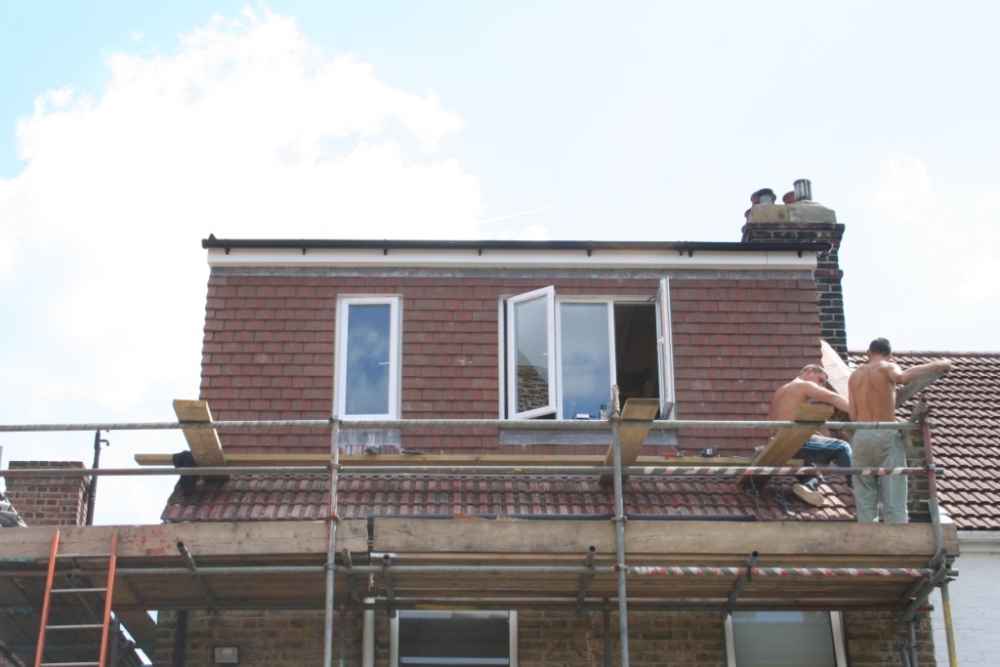
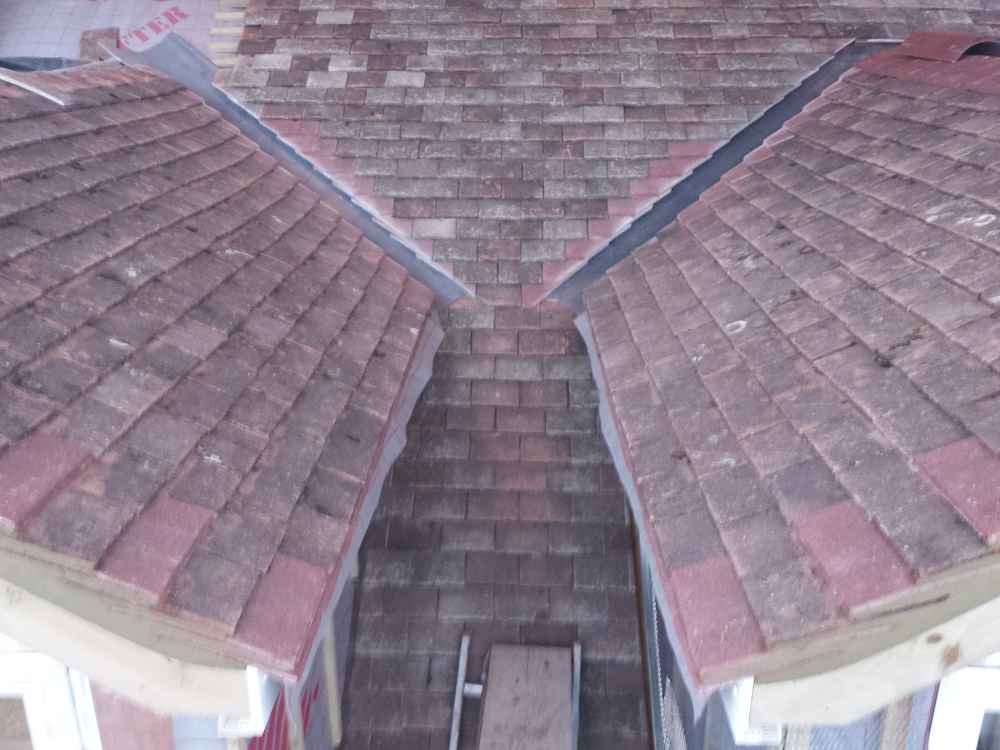
The fibre glass flat roof is installed and the sides of the dormer cheeks are tiled. We are now water tight.

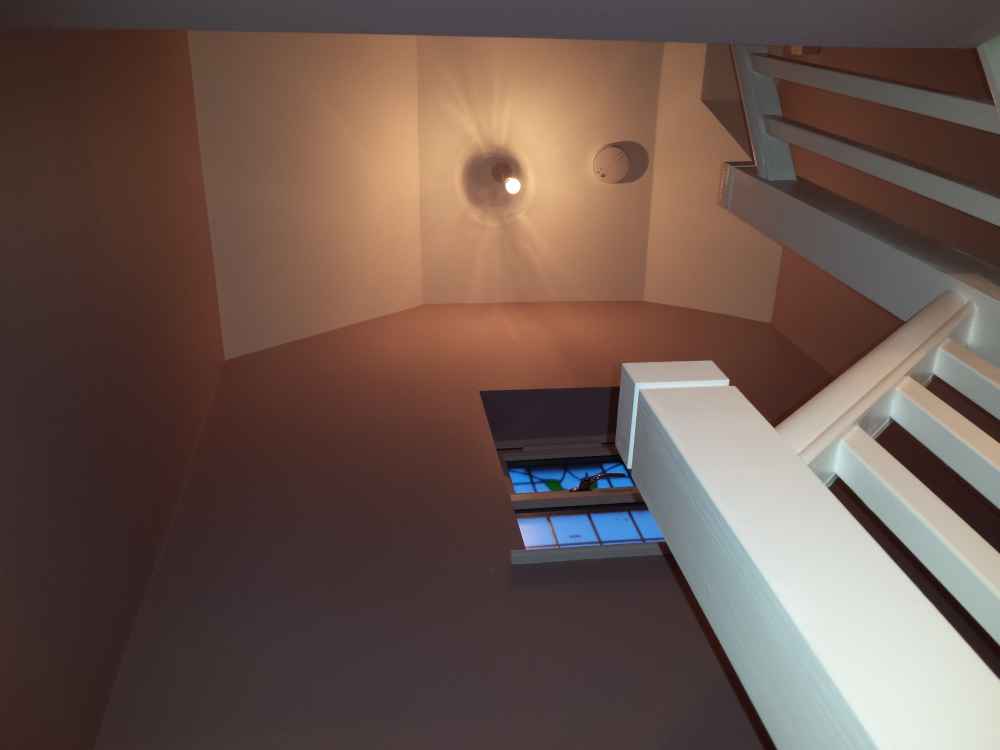
Now for the messy bit, we gently cut out the ceiling from the loft conversion to the main house ready for the installation of the new staircase. Once the staircase is fitted, the second fix of electrics can be installed ready for the plastering to the loft and staircase to be completed. Ready for the final touches now as the skirtings, doors, bathroom fittings, painting and decorating and floor coverings are ready to be fitted.

We carry out a final test on all of the fixtures and fittings and any snagging. The client is then issued with a completion certificate, NICEIC and a gas safe certificate on completion. Another loft conversion carried out in Eltham, SE9.
There are nationally approved building controls to ensure your home remains fit to live in and your alterations are in keeping with the character of the neighbourhood. All but minor loft conversions (e.g. storage loft conversions) within domestic houses must comply with Buildings Regulations to ensure your home remains safe and secure. Buildings Regulations Approval does not imply approval under the Town and Country Planning Act. Unlike many other housing alterations, e.g. ground floor extensions, loft conversions do not always require Planning Application Approval and we will tell you whether a Planning Application is required as part of our loft survey.