
 Gallery
House Extension – Project 1
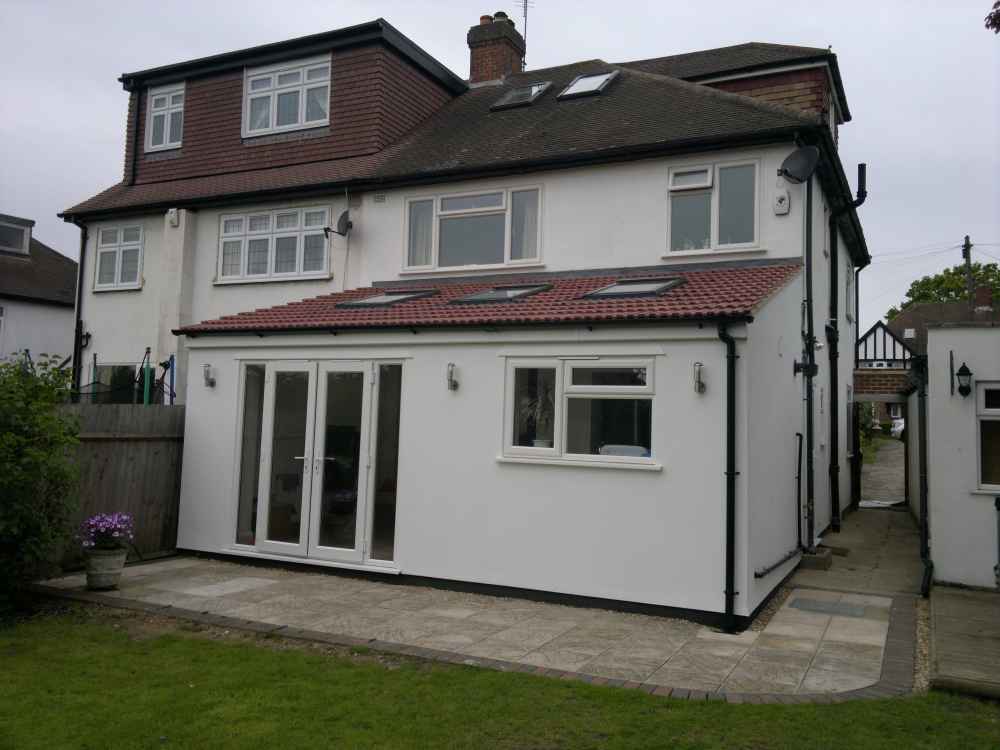
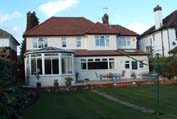
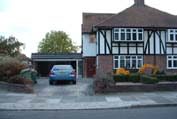
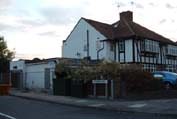
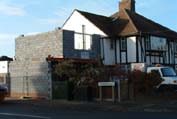
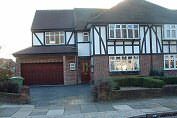
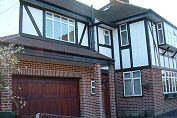
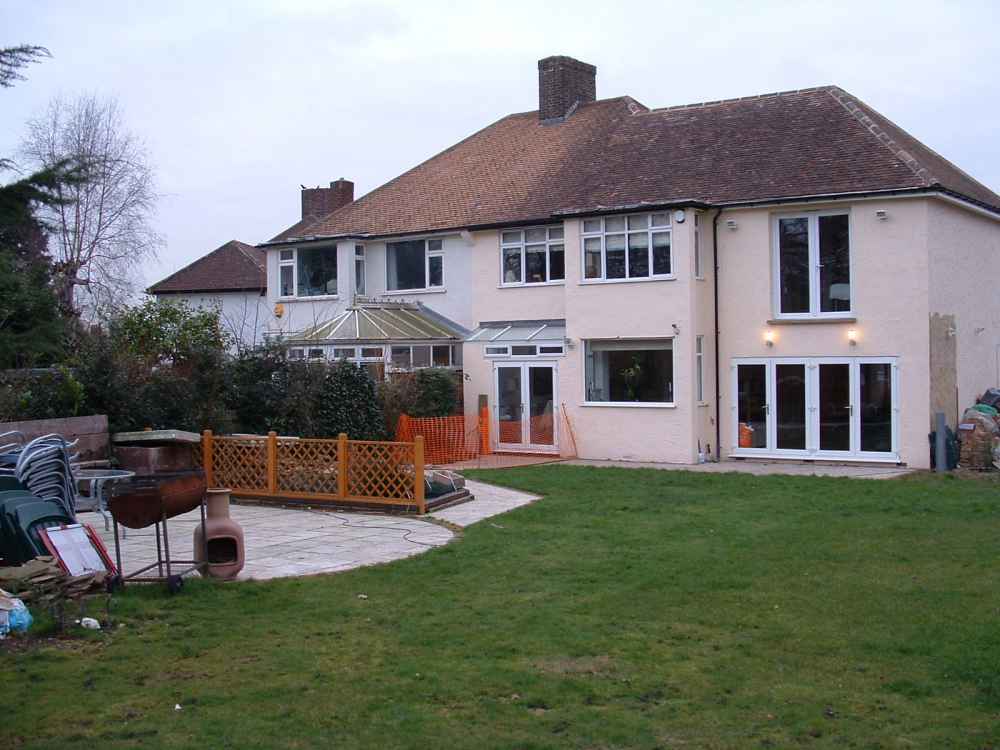
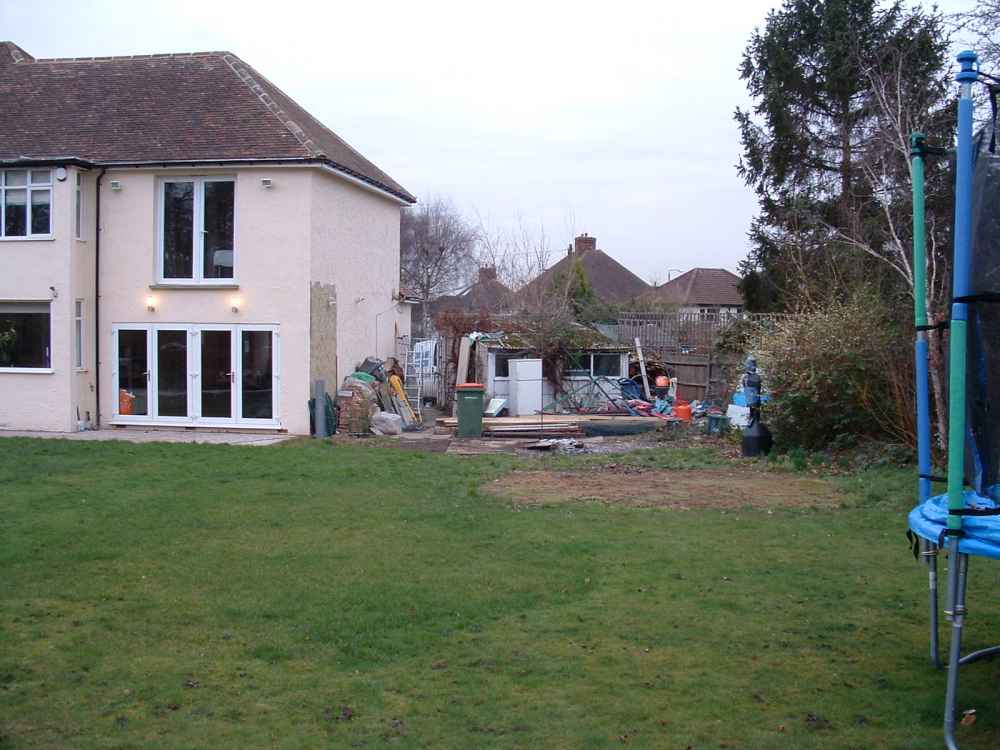
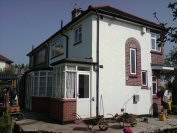
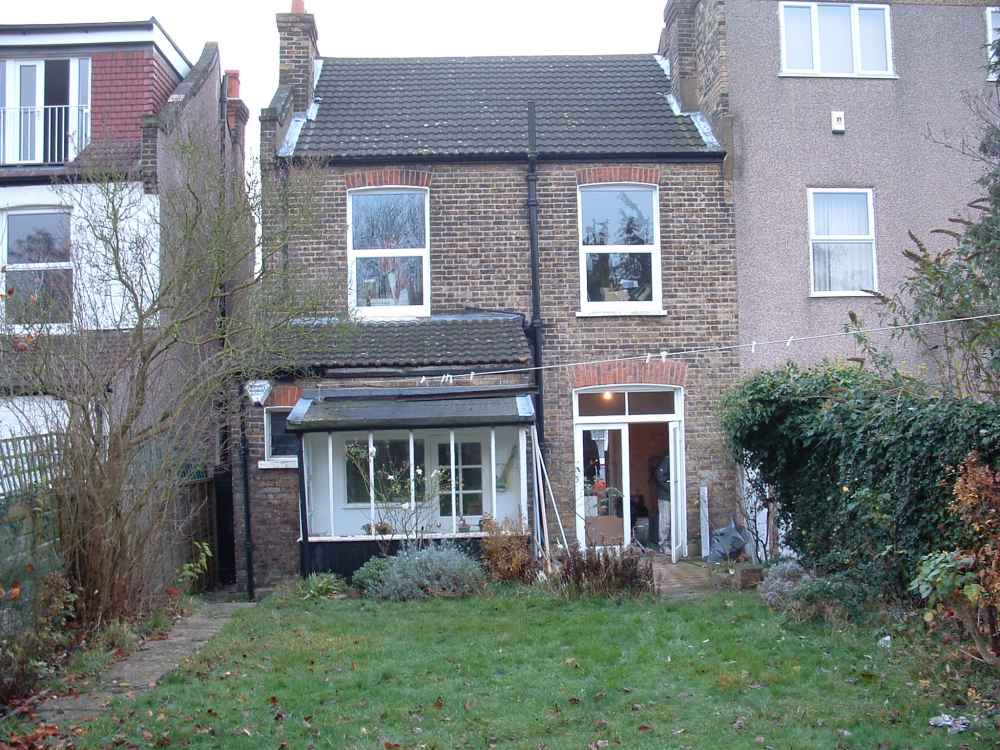
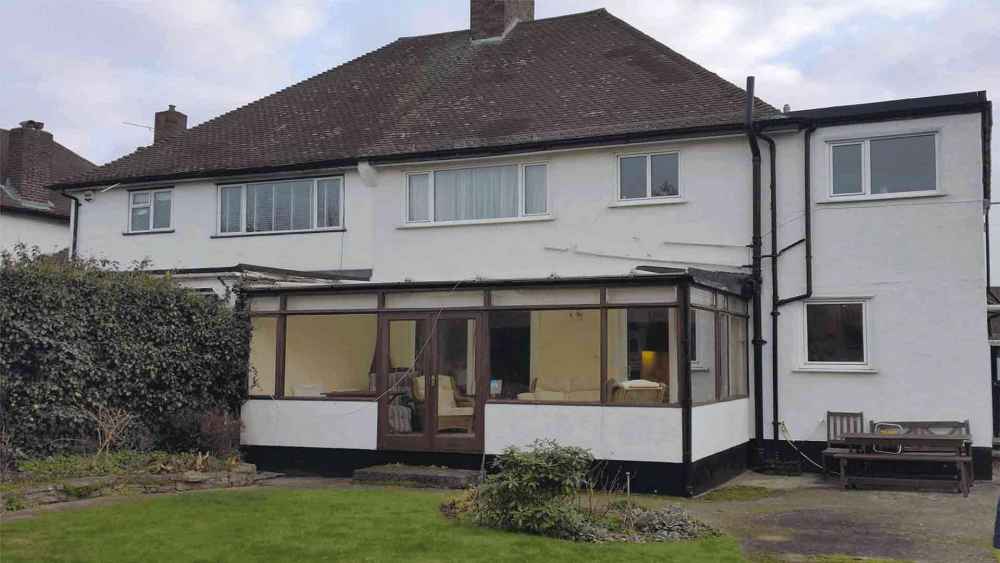
This ground floor rear extension was carried out in Colepits Wood Road, London, SE9. Eltham Heights.


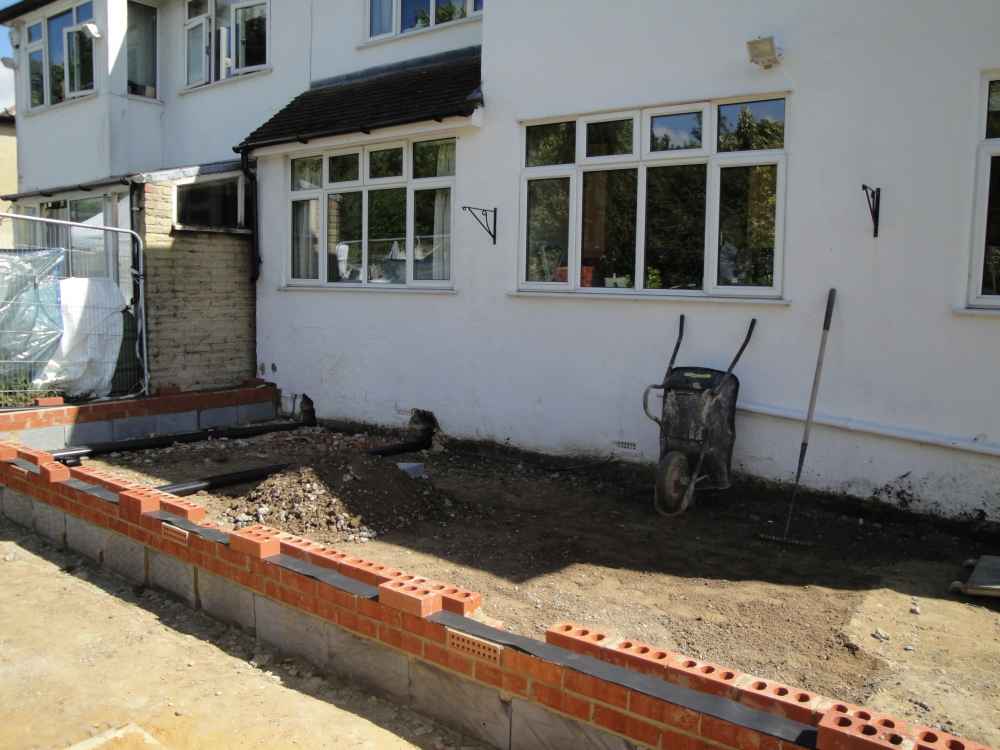
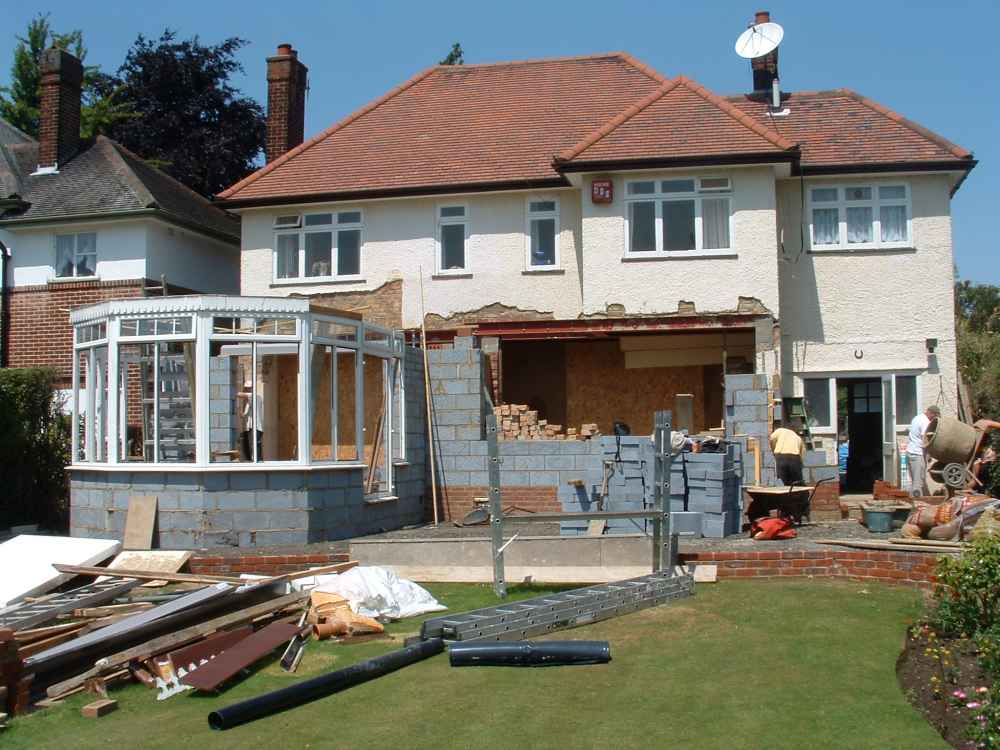
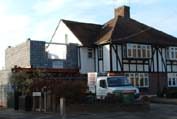
Stage 1: House extension foundations and concrete floor over site
The pictures above show the demolition stages through to the preparation of the over site/ concrete floor slab.First of all we cleared the area and excavated to a depth of 1.2 meters for the foundations. Once the foundations were poured we built up to DPC =Damp Proof Course, We then lay hard core to the area and compact it with heavy machinery. This was then blinded with 50mm of sand.


Stage 2: House extension floor construction and brick work to DPC.
We laid a DPM = Damp Proof Membrane down and lapped this onto the DPC course. We then laid 85mm of Celotec insulation over the floor and 35mm up the walls . The floor was then ready for concreting.


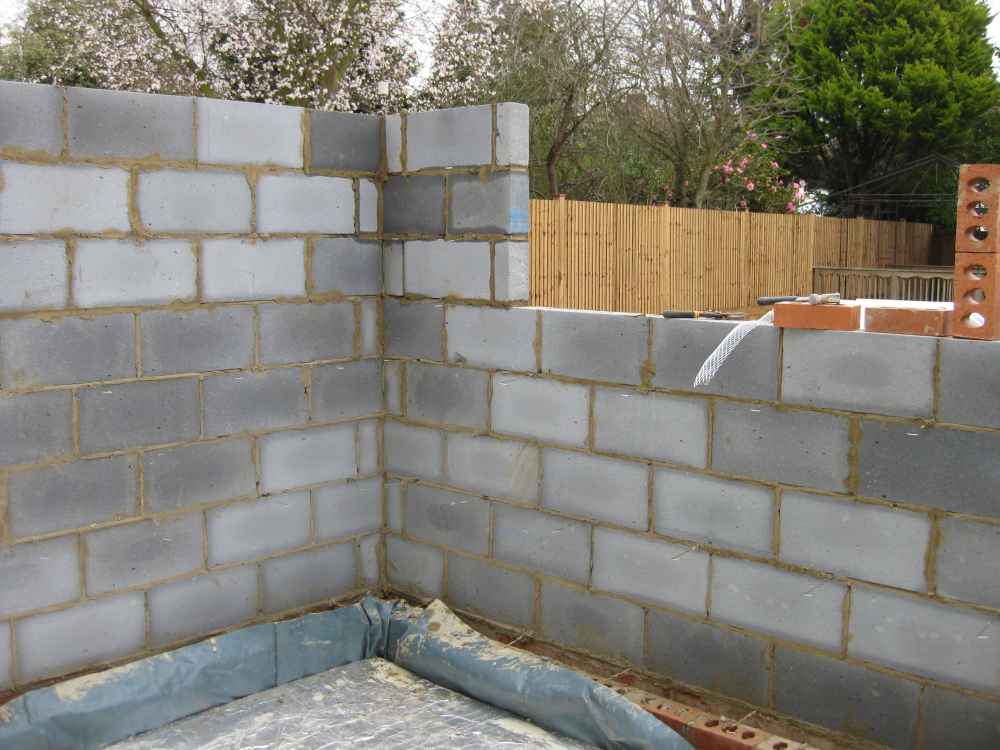
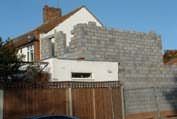
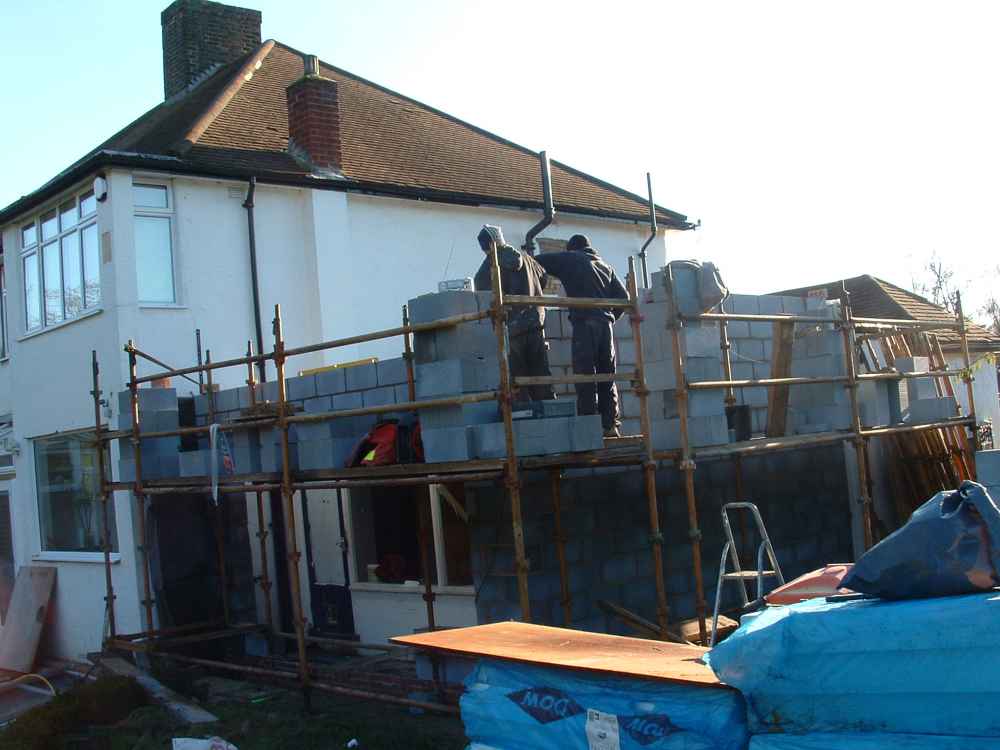
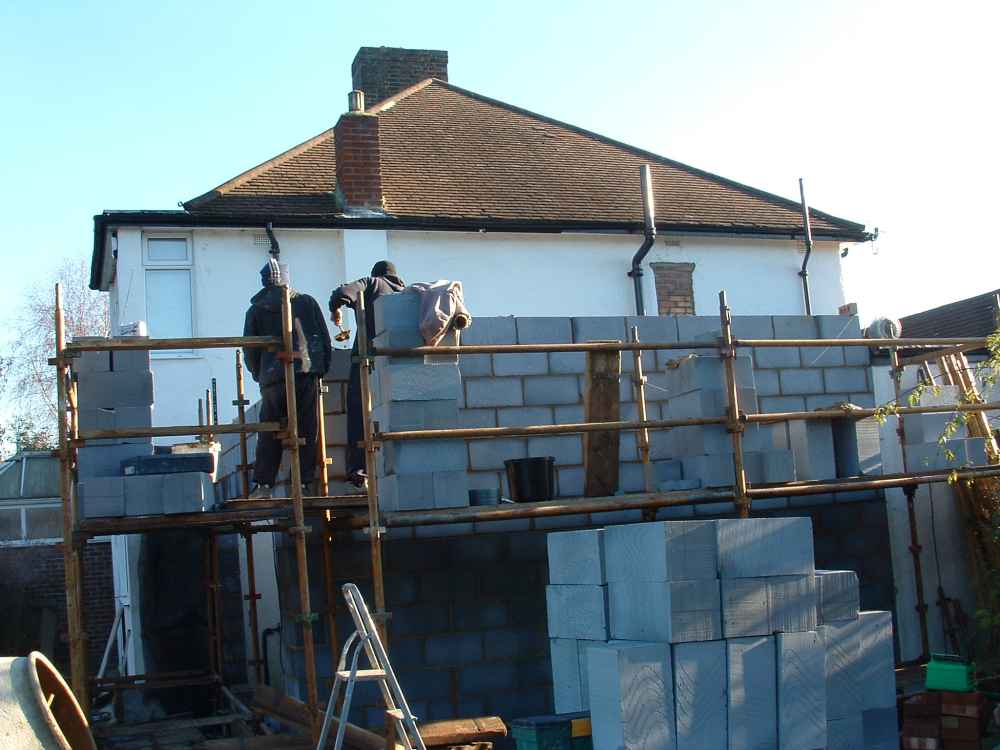
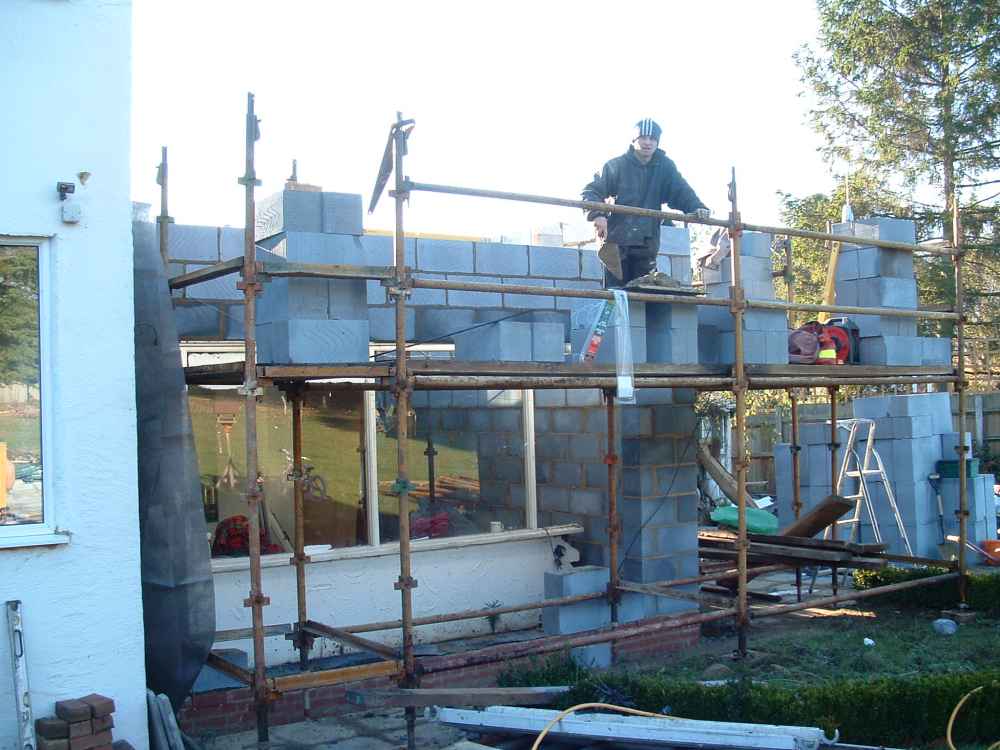
Stage 3: House extension cavity walls and pitching the roof
We then built 2 skins of 100mm Thermalite blockwork/block walls up off the DPC with 70mm of insulation clipped in-between. All lintels and cavity closers were installed and we then started to pitch the roof. The Velux windows were then installed.


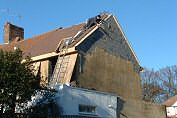
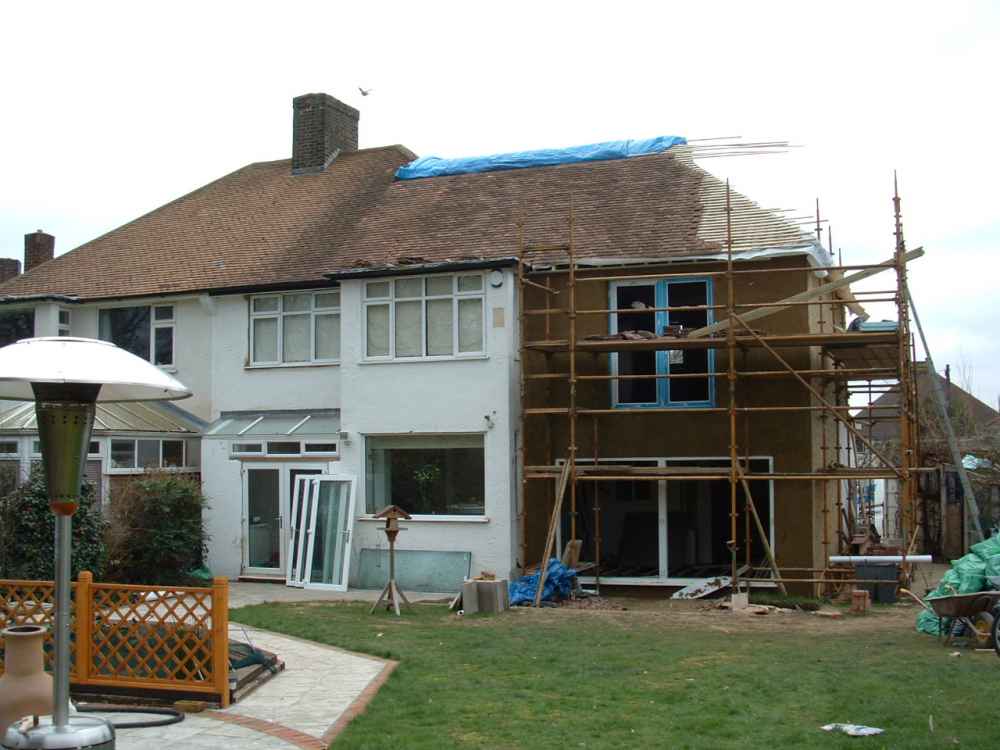
Stage 4: House extension roof tiling, facias and soffits and making good to the disturbed areas of the patio.
The roof was felt and battened ready for tiling. All ventilation UPVC soffits and facias were installed along with the guttering. The roof was then ready for tiling and installing the lead flashings.


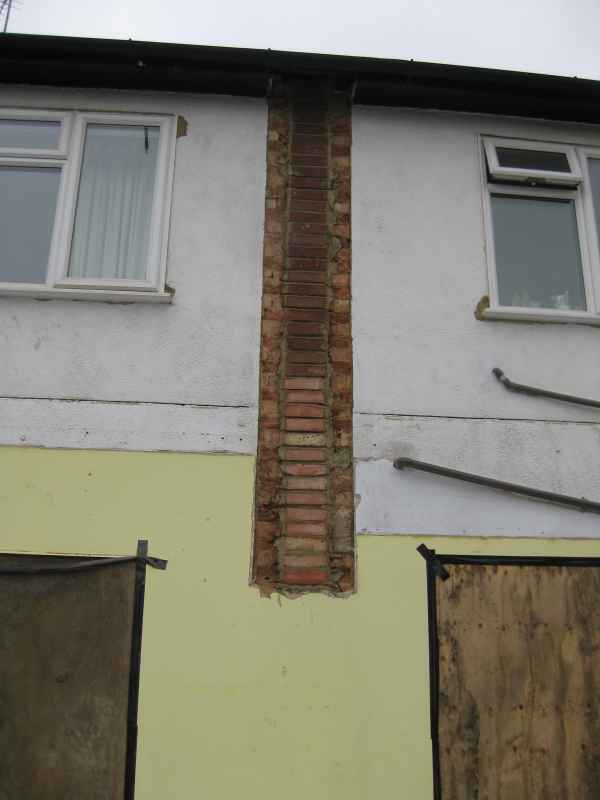
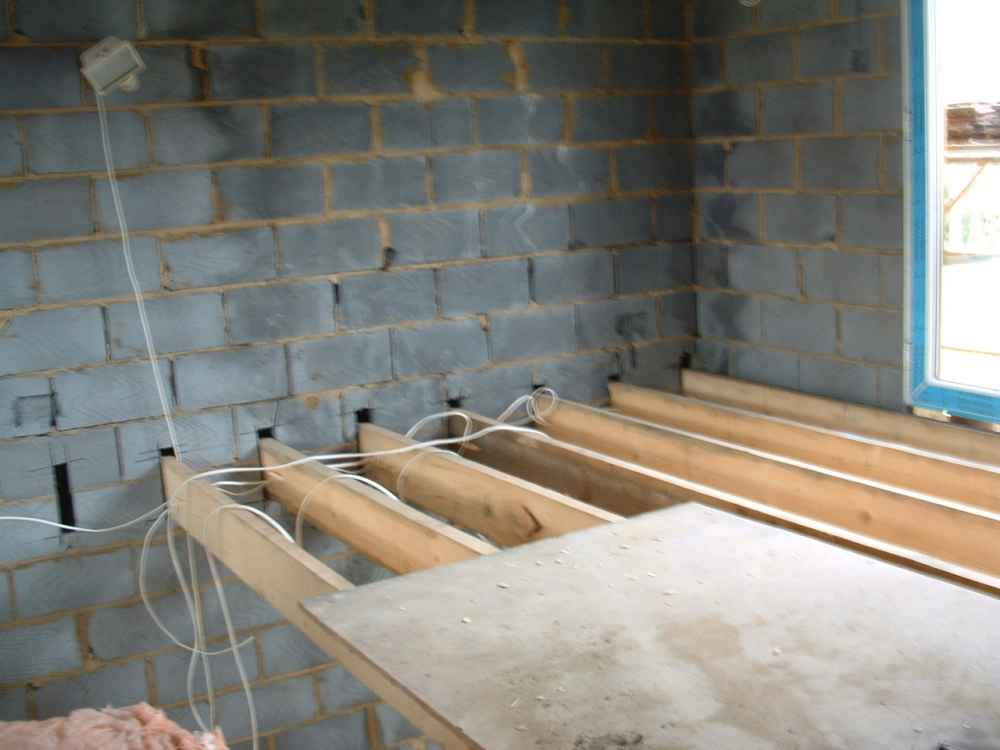
Stage 5: Insulation, structural openings and stud walls to the house extension.
Now the new extension is water tight we can carry out all structural openings from the extension to the main house. We carefully shored up the walls ready for the removal of the brickwork. The new concrete padstones were installed and the steels were put place. The timber stud frames were then installed left ready for insulation.


Stage 6: Insulation and scratch coat rendering
The stud walls were then insulated with a Rockwall acoustic insulation. The ceiling to the extension was insulated with 100mm of Celotec in between the joists and 50mm of insulation across the ceiling joist left ready for first fix electrics and plumbing.


Stage 7: Plaster boarding and plastering.
Now the extension has had all of its electrics and plumbing installed it is ready to be plaster boarded. We always use the thicker board of 12.5mm. These boards are screwed and not nailed to reduce the plaster from popping and it is a stronger fixing. Once the walls and ceilings are boarded we drill holes in the ceilings and walls to bring the lighting cables through. The same goes with the stud walls for the plug sockets. Now all of the walls and ceilings are ready for plastering.


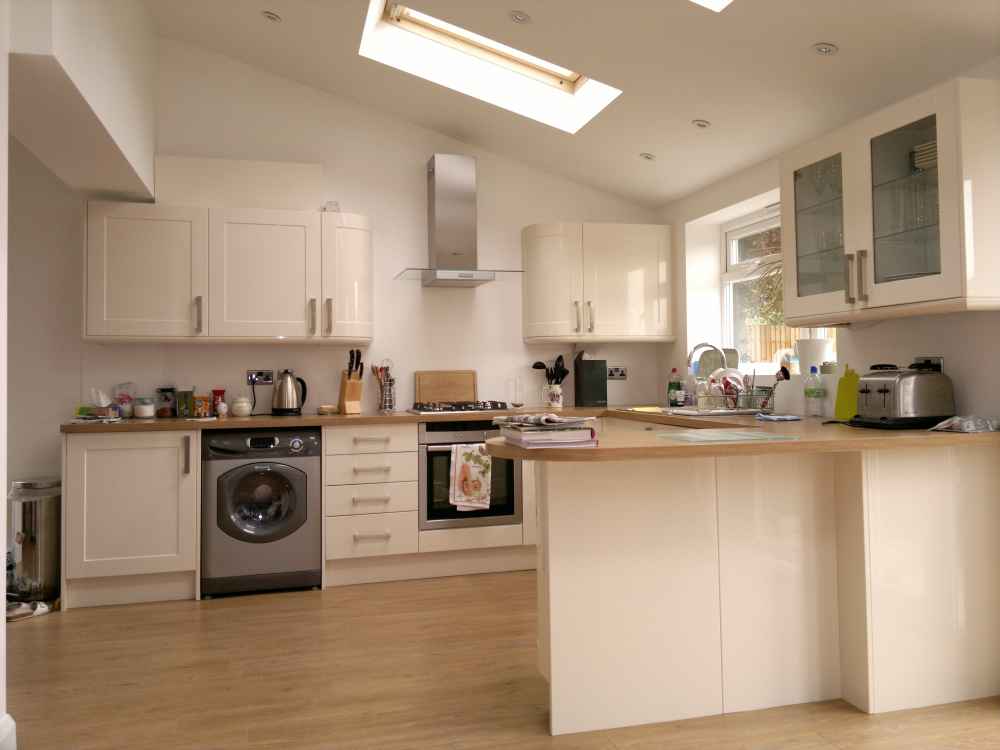
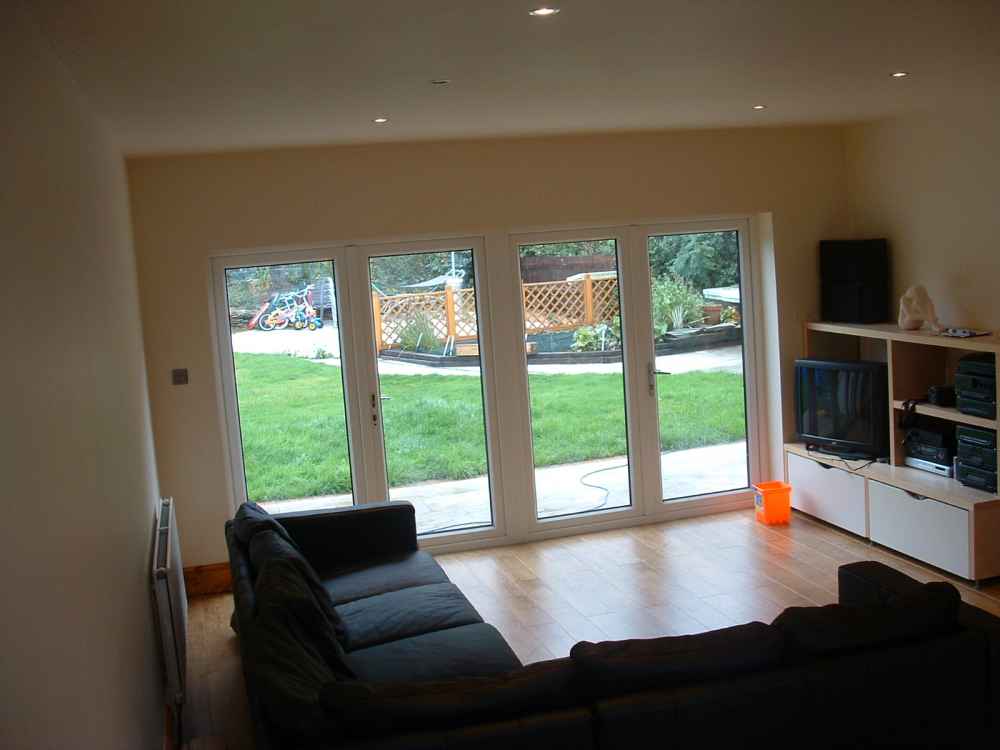
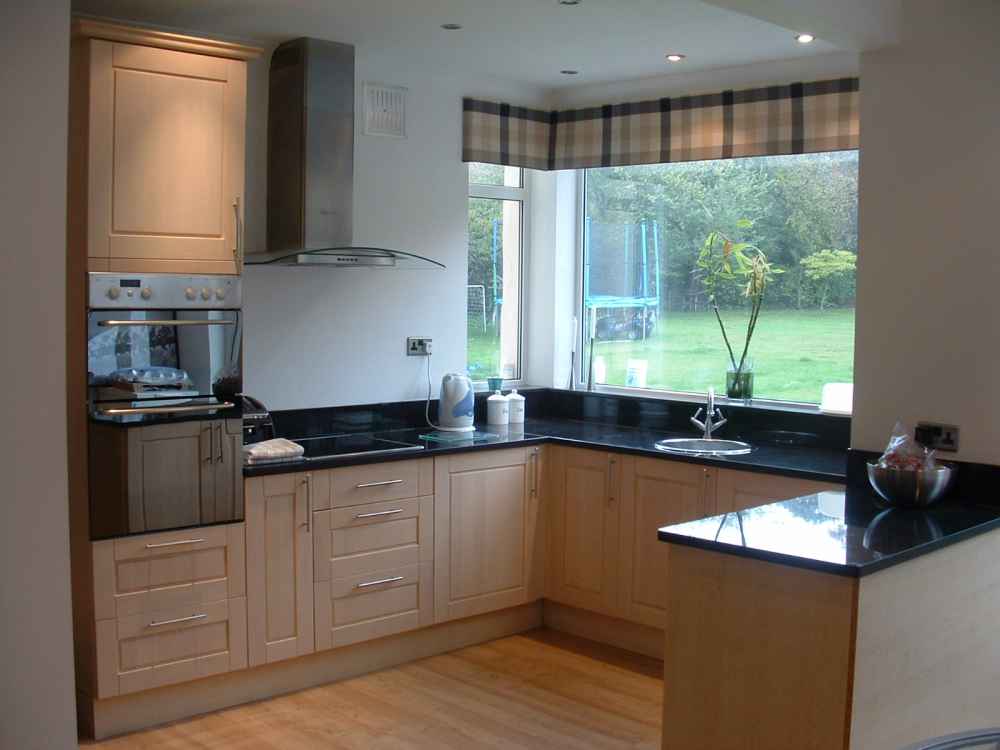
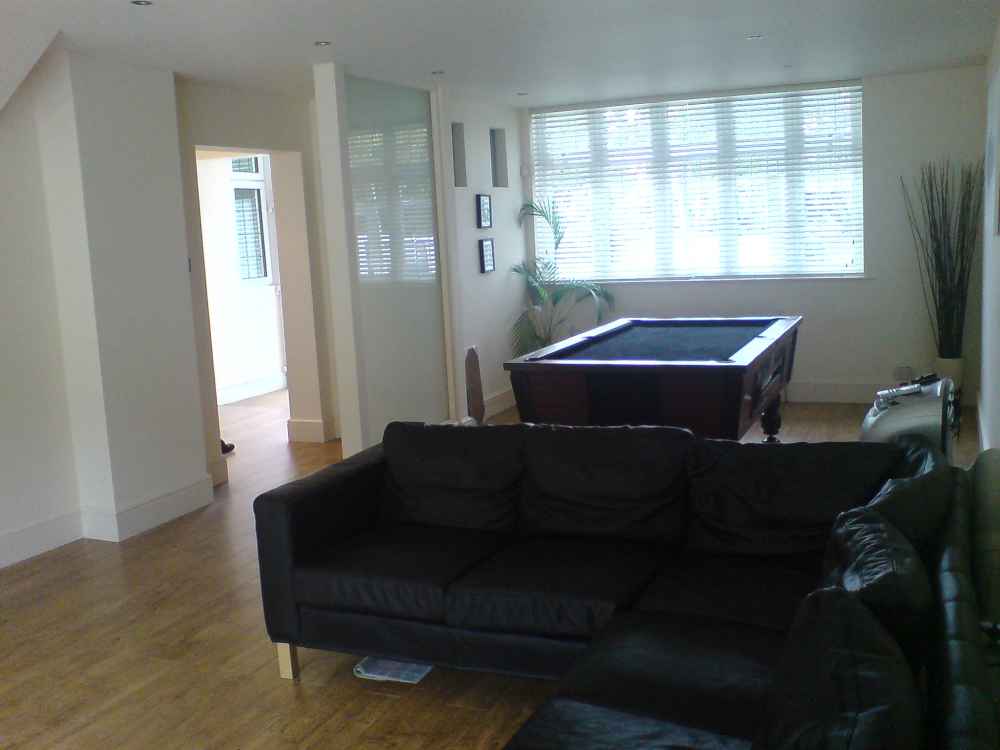
Stage 8: Decoration and the fitting of a kitchen.
We are nearly there now. All of the walls are lightly sanded to take off any shiny patches as the paint won’t adhere properly to these areas. The walls and ceilings have 3 coats of emulsion paint and the timber work has a primer, 2 coats of undercoat and a finish coat. The kitchen is then installed.


Stage 9: Snagging
Once the kitchen is installed everything is checked to make sure it is working properly. We then carry out any final snagging along with the client and hand the works over as completed.


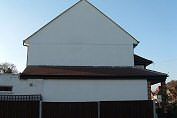
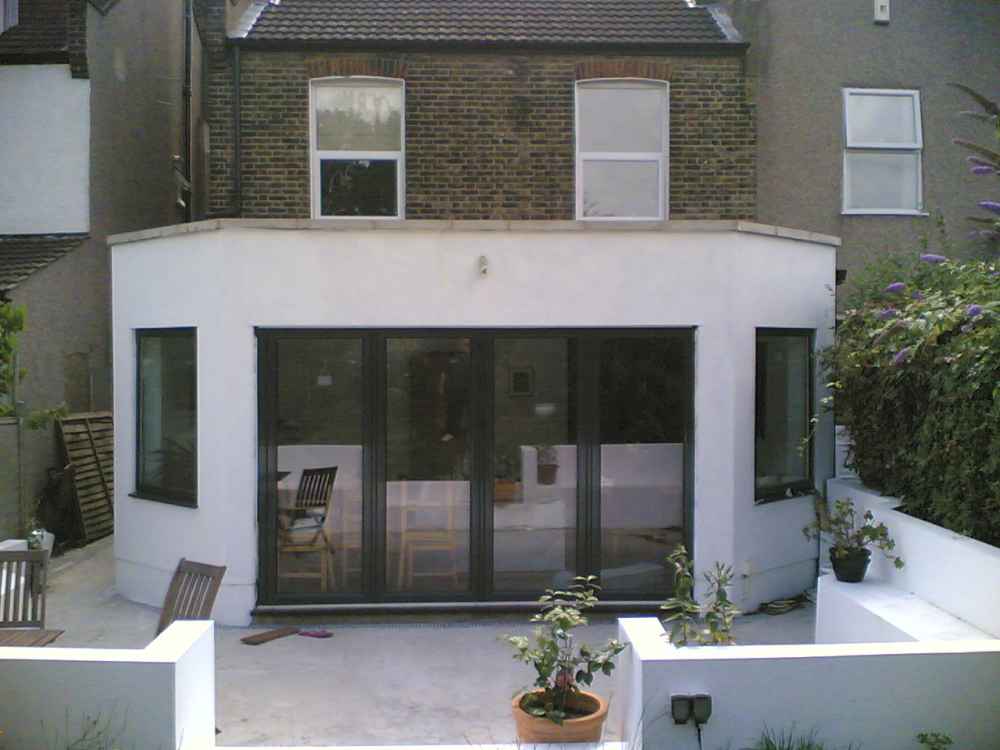
Stage 10: Completed
A completion certificate, NIC EIC and the GAS SAFE Certificates are issued to the client. Another superb job completed on time and on budget by London and Kent Construction Ltd.

 Gallery


 Gallery


 Gallery
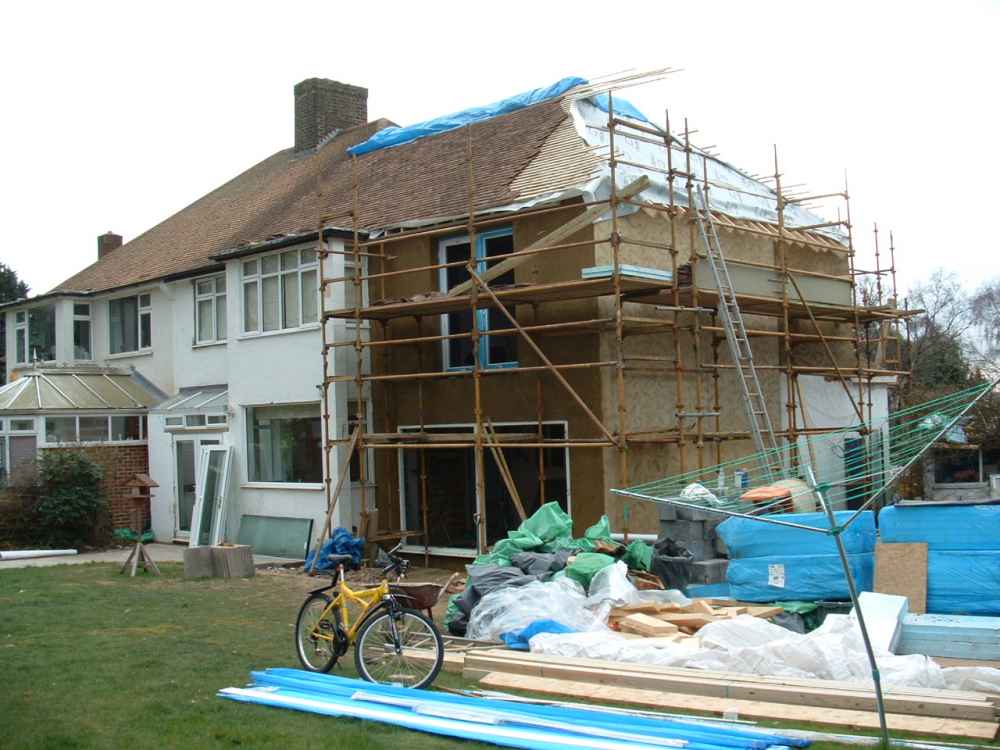


")
")
")
")
")
")
")
")
")
")
")

 Gallery


 Gallery


")
")


 Gallery

 Gallery


